Surf Shack Boy's Bedroom Featuring Rustic Collection Shiplap
Posted 6/2/2021 by Amanda Hall

We partnered with the principal designer and owner of Sno Valley Studio, Milissa Ching, to create a beach-themed boy’s bedroom for her 4-year-old son. This monochromatic design is Milissa’s specialty, as her entire home envelops a neutral-modern style. It’s different than your typical “beach room,” and it’s brilliant because it has a simplicity and timelessness that will continue as her son grows.
It’s a smart choice to create a space that is more timeless than trendy, and Milissa can smoothly transition this room into an older child’s room without completely redesigning it. Shiplap walls are much more transitional with age than children’s wallpaper or kid-friendly painted designs. This classic room design will work for years to come.

Milissa's adorable boy’s bedroom features our prepainted Rustic Charcoal shiplap as an accent wall that paired amazingly well with the custom-built surf shack bed. The dark shiplap makes the white, bright surf shack pop off the wall. Not only do we love the contrast in color, but the textural contrast between the rough shiplap and the smooth furnishings is very well balanced.


Rustic Collection shiplap comes with a wire-brushed surface that adds a sense of depth to a room. “Adding that texture just made my son’s bed pop off the wall and added a subtle visual interest to the space,” Ching said. The key to great design is learning how to layer a room with balanced colors, textures and materials and Milissa did a great job including those concepts in her son’s room.


Shiplap Installation Tips from Millissa Ching:
Milissa shares her tips from her shiplap installation experience:
Tip 1: First and foremost, I ordered up enough product to cover the entire accent space, plus 10% extra.
Always order extra building materials to account for things like damaged pieces, mismeasured cuts, variations, etc.
This will save you the headache of running short on boards when you’re in the homestretch of your installation – only to find out what you need is out of stock.
Not sure how much shiplap to order? Check out the UFP-Edge coverage calculator that will calculate how many shiplap packs you'll need from the square footage of your project.
Tip 2: Below is a list of tools you’ll need:
Circular mitre saw or circular hand saw – for cutting boards to length
Jigsaw – for manipulating boards to fit around outlets, switches, etc.
Kreg Rip-cut – I use this in the absence of a table saw to rip board strips
Measuring tape – to see how tall you are… and what length boards you need
Stud finder – it’s critical to hit studs with this product. It’s heavy!
Painter’s tape – the method I use to mark my studs
18-Gauge brad nailer – to attach your boards to the wall
2″ 18-gauge brad nails – to feed your brad nailer
Level – for a perfect installation
Hammer – in case you need to knock a board into place or pull a misfired brad
Trim puller – in case you need to remove an installed board or existing trim
Power drill – to remove/add any screws
Electrical box extenders
Extender screws – to keep those extenders in place
Step ladder – unless you’re 8′ tall, you’ll need this for the top rows
Safety glasses
Dust mask or respirator
Ear protection
Work gloves – helpful for preventing splinters and cuts
Sandpaper or a sanding block
Magic erasers – for tidy clean-up of the walls after installation
Tip 3: Mark all your studs with painter’s tape. This will help you easily see where you need to fire the brad nailer when installing the boards.

Tip 4: Open several packs of your shiplap and lay out your boards to ensure they are straight, and your variations are mixed up to create a more natural installation.

Tip 5: Cut your boards with the finished side up. You’ll get a cleaner edge than the reverse.

Tip 6: The shiplap will install with a traditional nickel gap, but if you desire a thicker gap, you can use a couple pieces of scrap boards as spacers.

Tip 7: Use your level every couple of rows to ensure you are maintaining a level installation all the way up the wall.

Tip 8: No table saw? No problem. You’ll need to rip down the last row to fit and having a perfectly straight line is critical.
Tip 9: Kill the power and use electrical box extenders to help your outlets sit flush SAFELY to your shiplap. Please do not skip this step as it is critical to ensure you don’t create an unintentional electrical arch that could burn your beautiful home down
This space was so personal and so much fun to work on with my son. While labeled a ‘rustic’ product, I can assure you that this line of shiplap added the ‘something extra special’ to this space. I mean, just look at how incredible the ‘surf shack’ looks with the charcoal color and texture in the background!
More Rustic Shiplap Inspiration
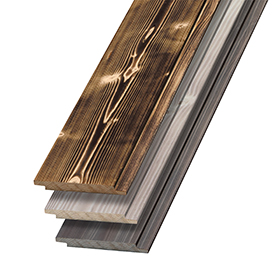
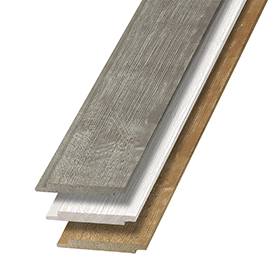
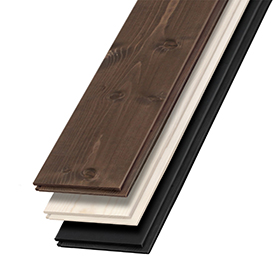
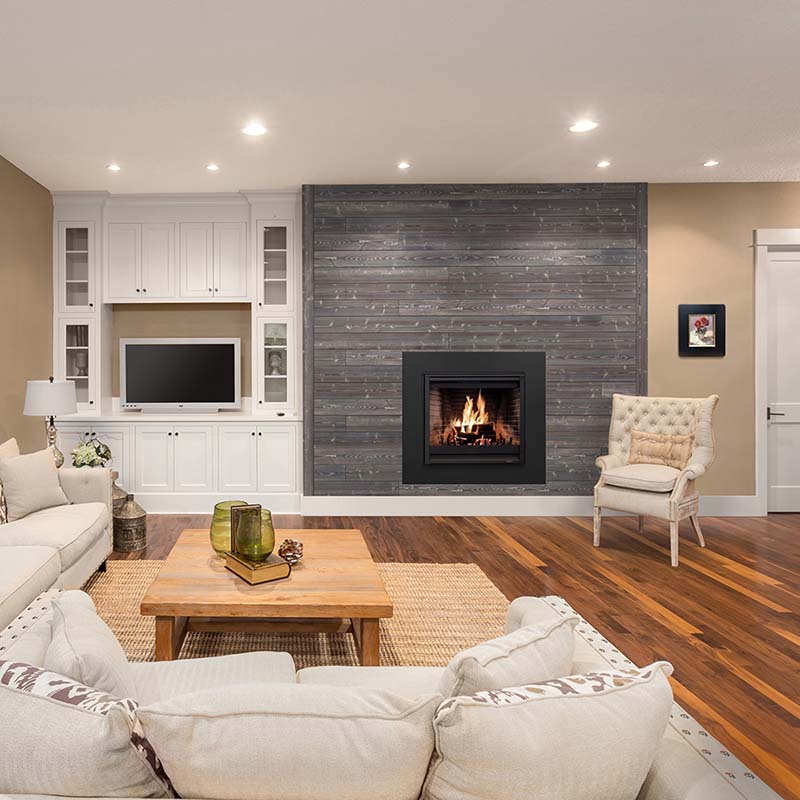
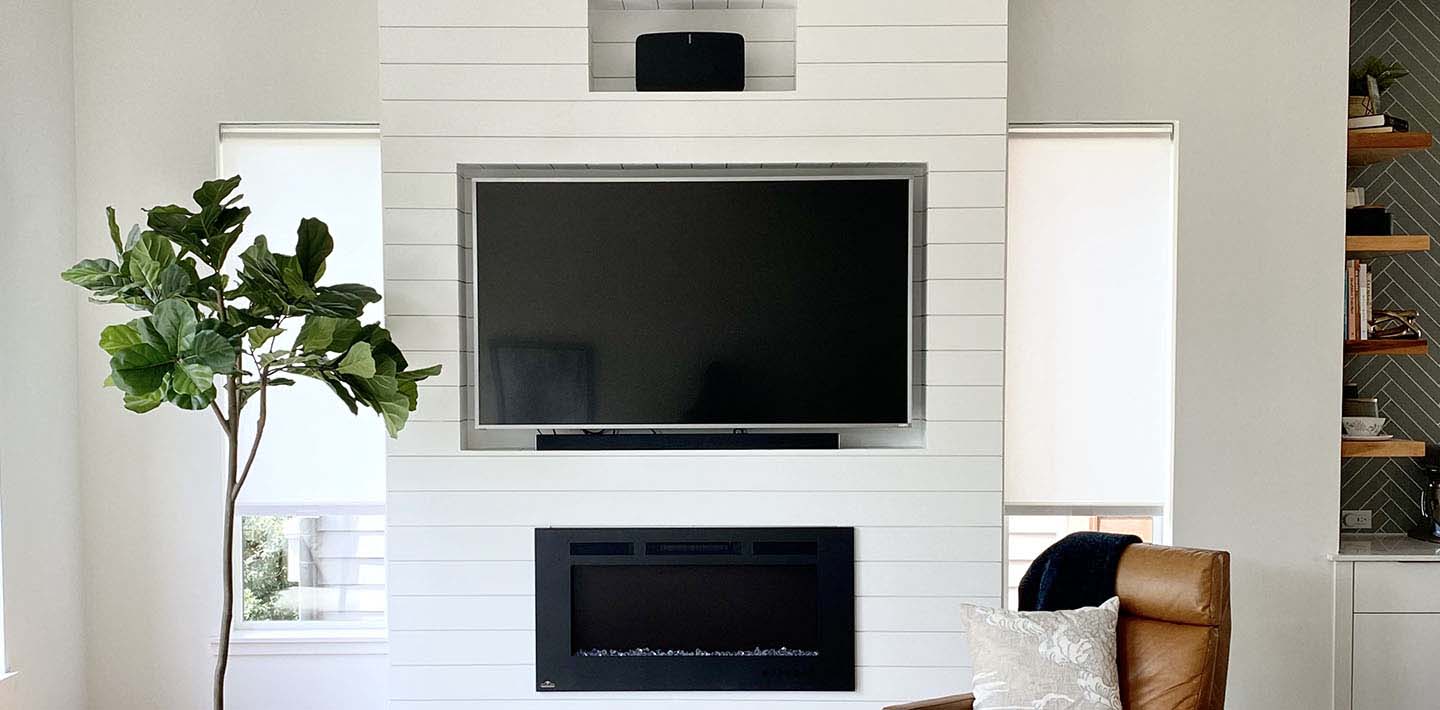
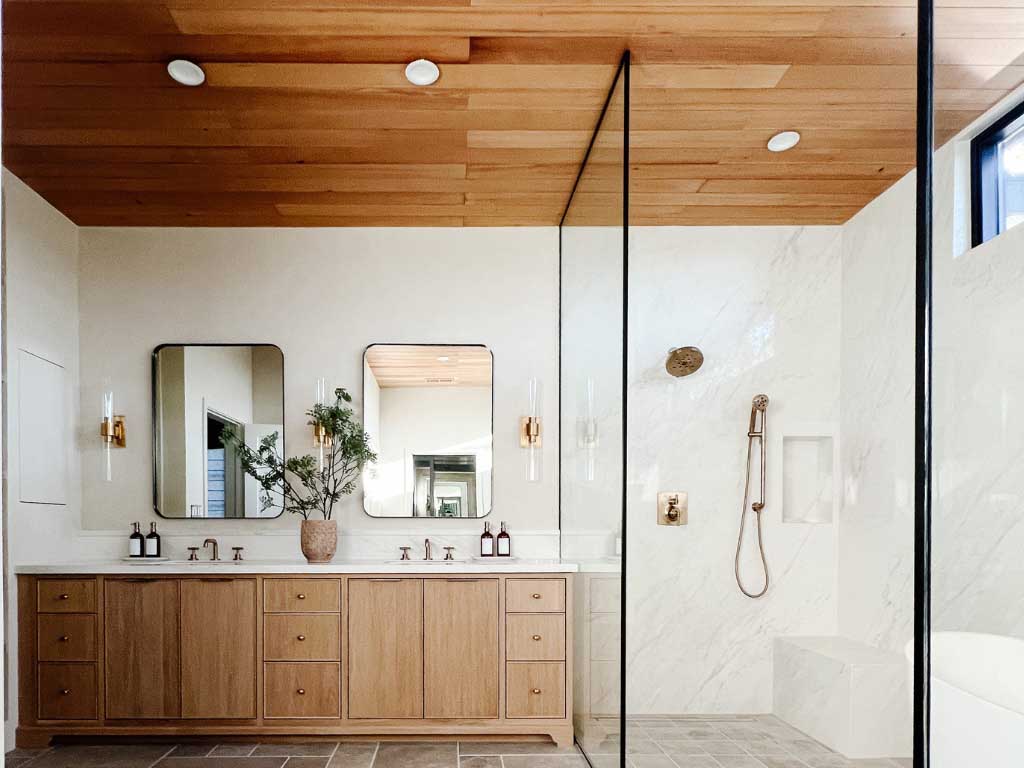
UFP-Edge Rustic Collection comes in a variety of prepainted colors. Check out some of these other spaces and colors for more inspiration for your next home project.

This bathroom ceiling inlay and bedroom accent wall feature Rustic Collection Gray shiplap.

This bedroom accent wall features Rustic Collection Dark Brown shiplap.

READY TO START YOUR PROJECT? FIND WHERE TO BUY.
