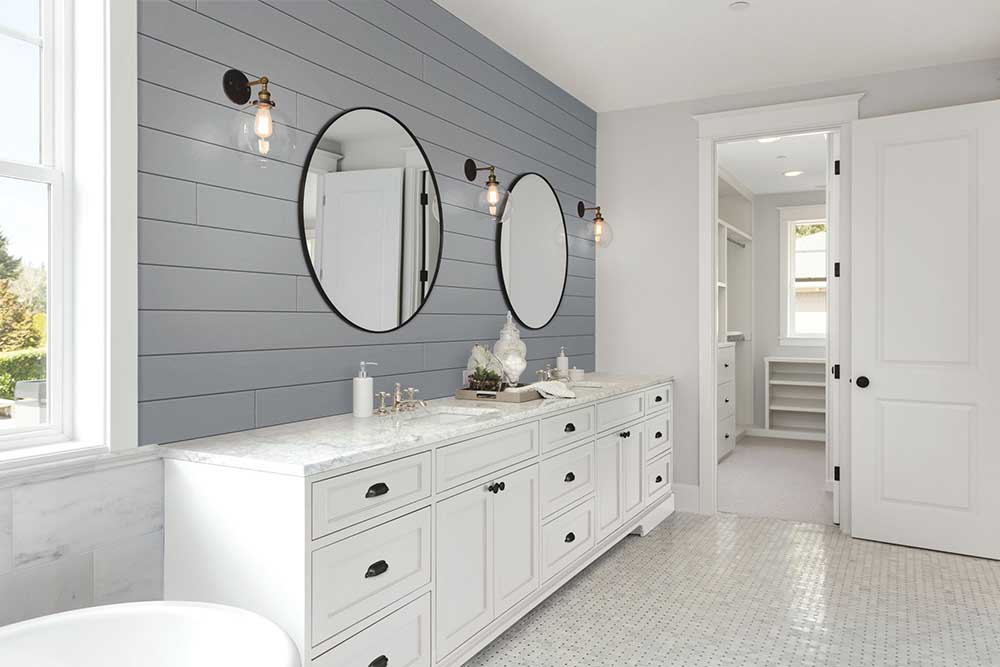
How to Install Timeless Nickel Gap Shiplap
Posted 5/1/2019 by Cassie Klitzke
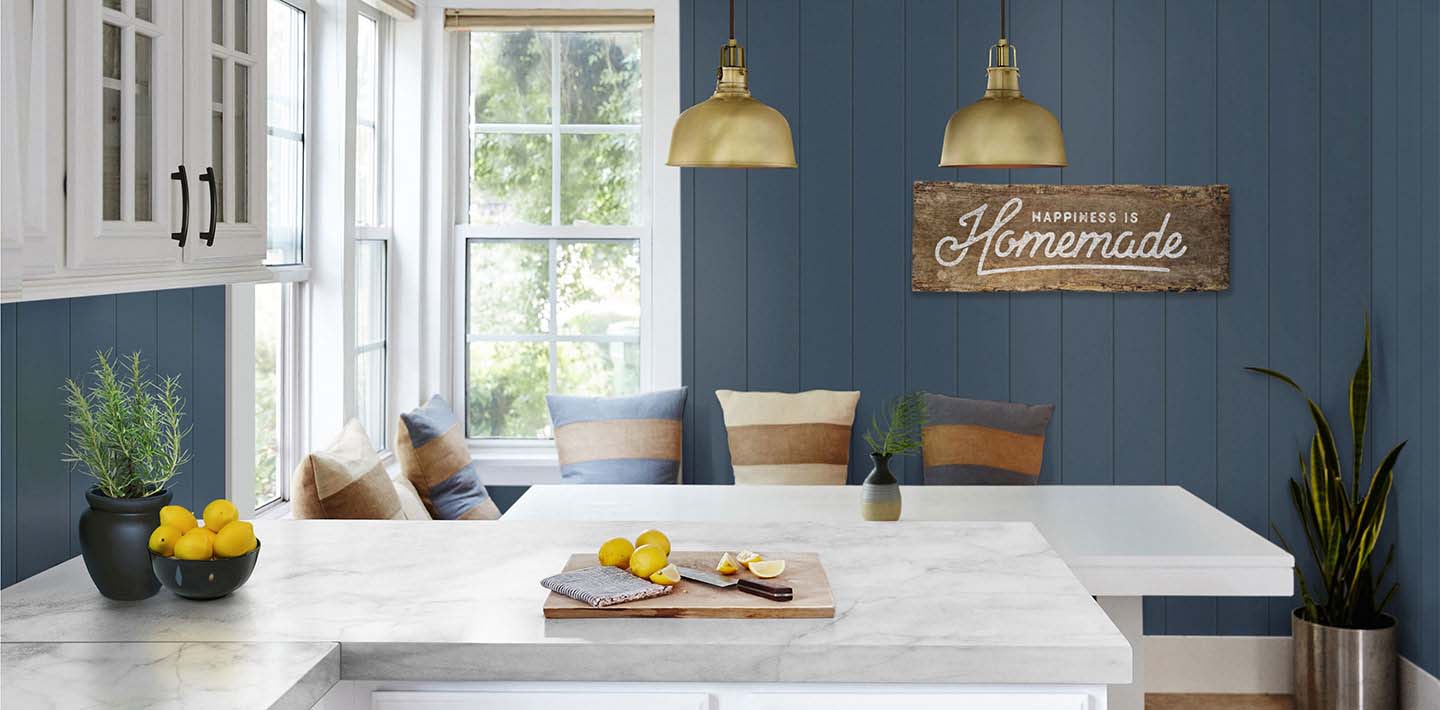
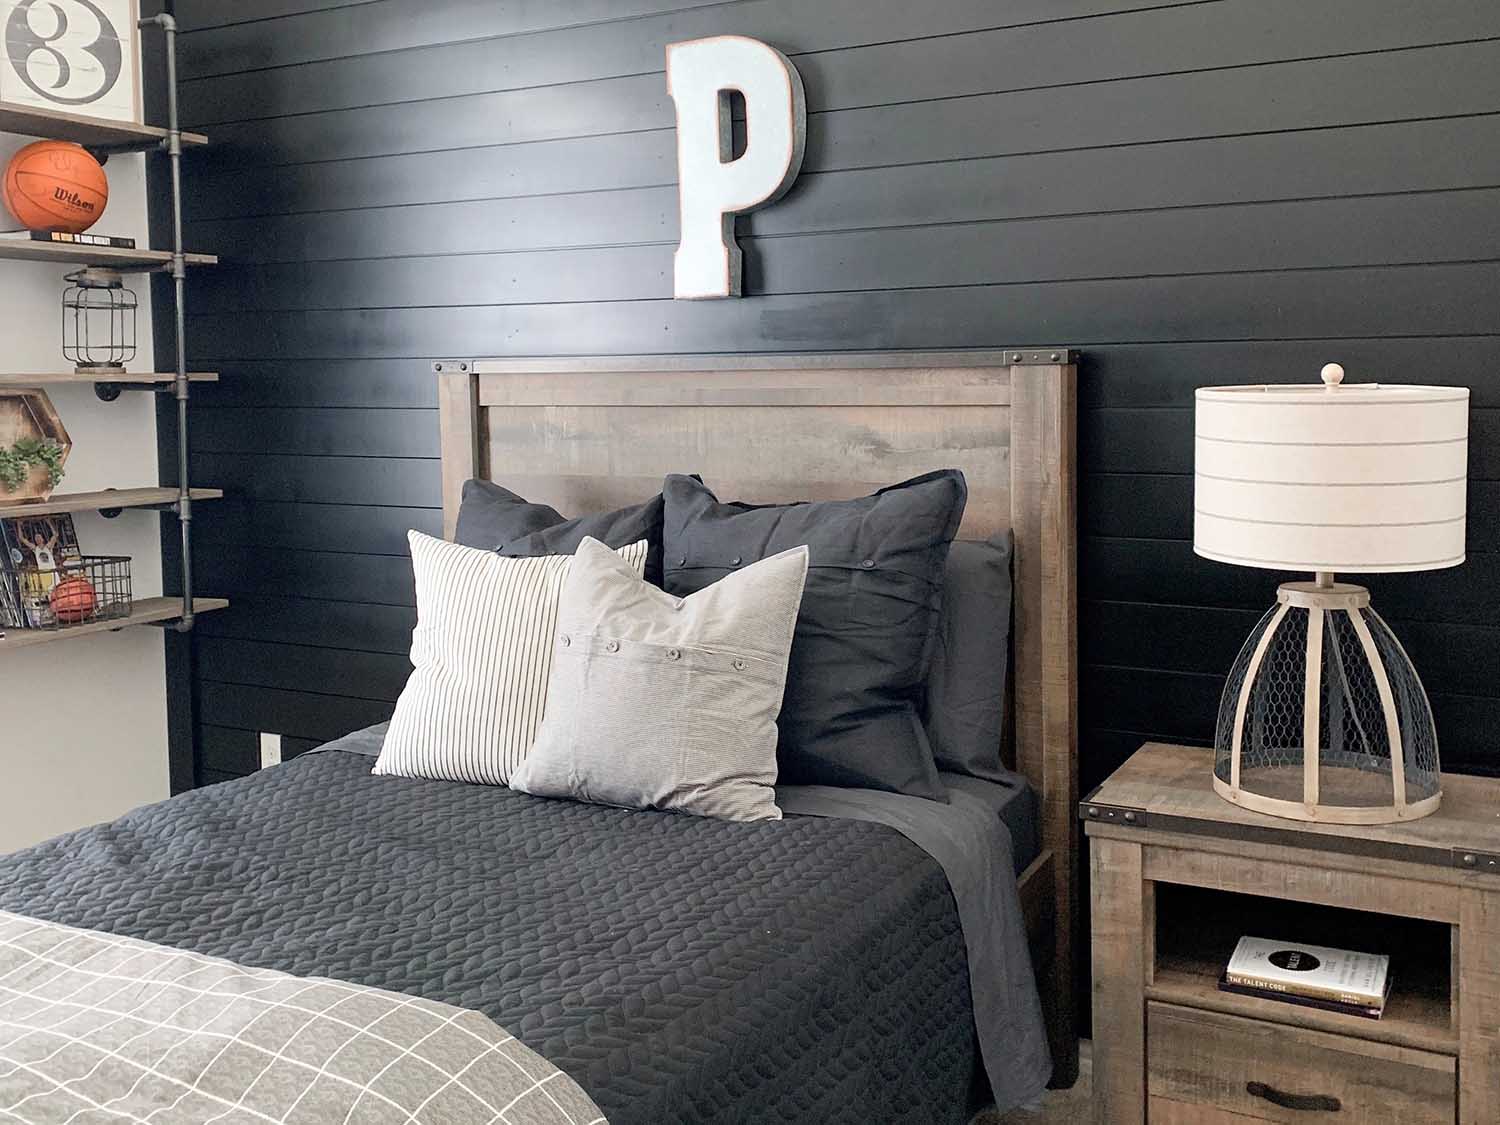
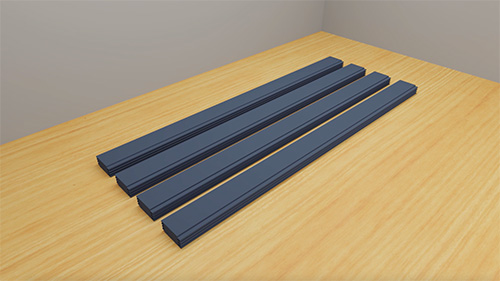
So you decided to install Timeless nickel gap shiplap and want to make sure you get the job done right to ensure a flawless look. No need to fret. We are here to help walk you through the installation process. You’ll be pleasantly surprised at how quickly and easily you can add shiplap to any room in your home.
Step 1: Calculate Square Footage
Before starting the project, make sure you have purchased the right amount of material for the job. Calculate the square footage of the wall you are covering by determining the length and height, then multiply the two measurements. Make sure you factor in 10 percent extra material in case you run into some issues when cutting the boards.
Step 2: Allow Boards to Acclimate
After buying your material, allow the wood to acclimate for several days prior to installation in the room it will be installed in. Variances in temperature and moisture between the storage and application areas have a negative effect on the finished appearance if the product doesn’t adjust to room conditions prior to installation.
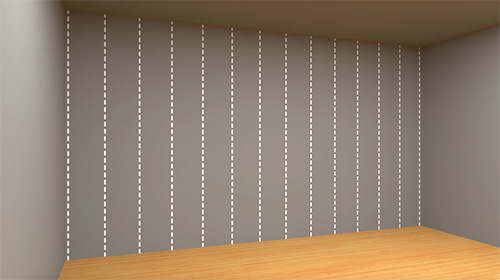
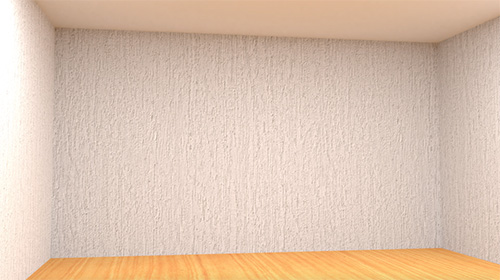
Step 3: Prep the Walls
While waiting for your boards to acclimate, prep the wall for installation. We recommend that you giving the wall a thorough cleaning using mild soap and water and a smooth cloth.
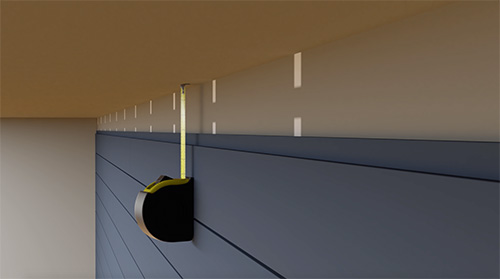
Once the area has been cleaned and painted (if necessary), you may begin marking your studs.
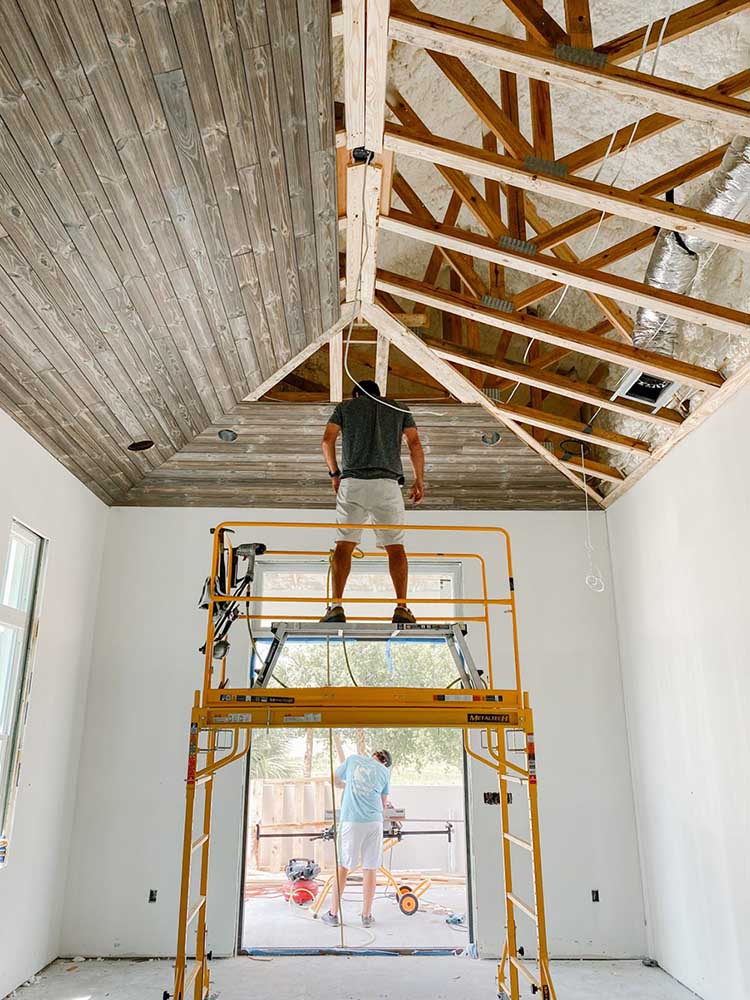
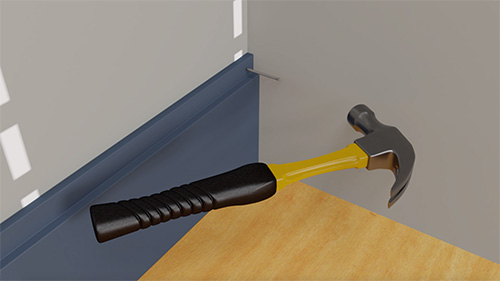
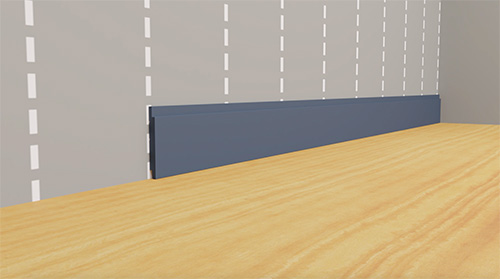
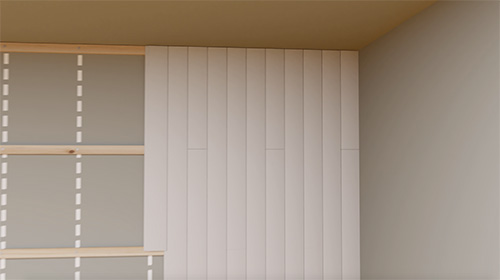
Step 4: Install Timeless Nickel Gap Shiplap Boards From the Bottom Up
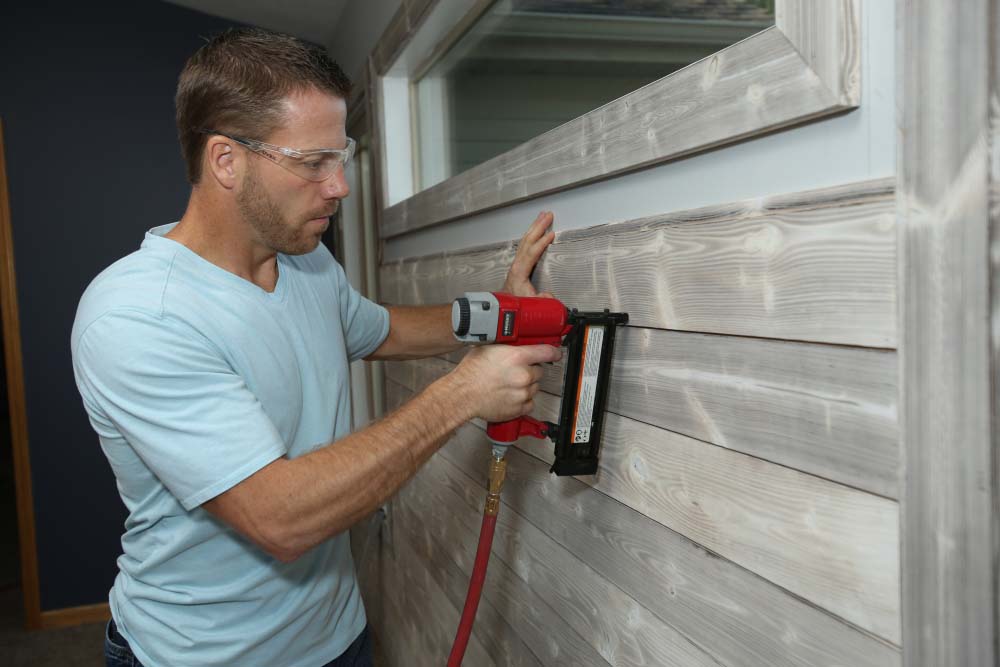
When ready, begin installing shiplap boards from the bottom of the wall. Apply a bead of construction adhesive to the back of the board.

Place the board flat against the wall, with the flange on top. Drive 2 in. trim nails into the flange at each stud (use a pneumatic nailer and nails for fastest installation). Make sure the boards always meet on a stud. If the boards do not meet at a stud, you may have to cut boards to length. Stagger the seams as you make your way upwards toward the ceiling.
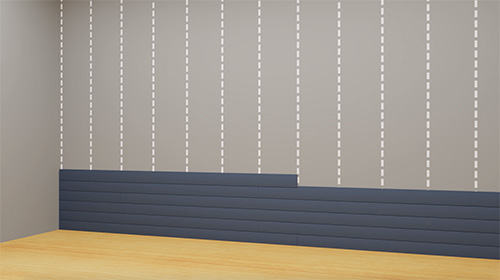
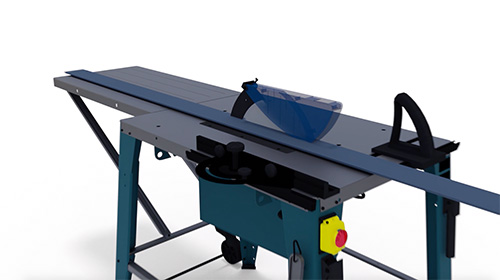
The final row will likely have to be cut lengthwise to fit. Measure the gap in several places, in case the ceiling isn’t perfectly level. It's best to cut the board with a table saw or circular saw.
Installing Nickel Gap Shiplap Vertically
For a vertical application, begin by installing full-length furring strips every 24 inches. Then install the shiplap boards the same way as horizontal – starting on one side, staggering seams, and cutting the final board for a custom fit.

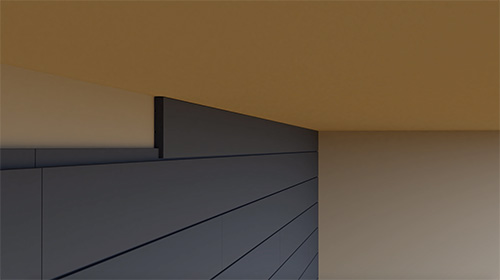
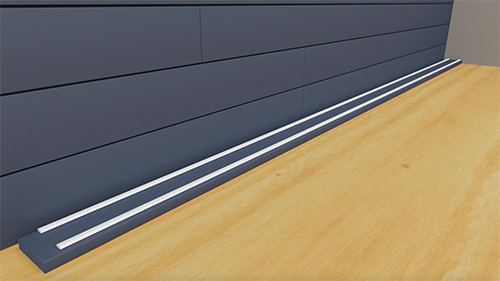
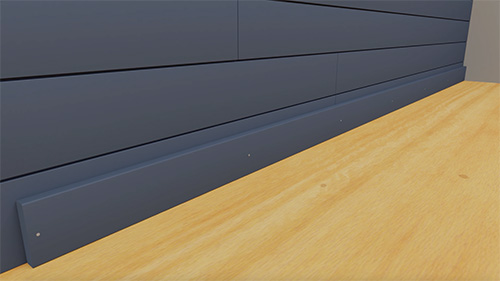
Adding Timeless Trim
Trim boards can be installed before or after the shiplap. Use the same construction adhesive on the back of the board, then drive trim nails through the face. Use a color-matched wax fill stick to fill the nail holes.
How to Install on Plaster or Hardboard
If installing on top of plaster or hardboard, make sure the wall is in moderately good condition before beginning.
How to Fix Scratches and Imperfections
If your shiplap wall gets scratched or damaged at any point, use a color-matched wax fill stick to repair the surface. Fill with the wax stick, and scrape off the excess using a plastic scraper.
Painting Cut Ends
Touch up paint can be applied to ghost bright cut ends. Ideally the paint will be applied prior to installing the board.
For quick and easy reference download the UFP-Edge Timeless Nickel Gap Shiplap installation instructions. For inpiration on how to use Timeless Nickel Gap shiplap and our other products, view our inspiration page here.
Watch the full Timeless Nickel Gap Shiplap installation video here.
Ready to start your next project? Find where to buy.