How to Affix Shiplap
Posted 3/4/2020 by Amanda Hall
Our shiplap can be affixed to the wall in two different ways–using adhesive and nails or just using nails. The type of application depends on what kind of shiplap you install and your desired look.
Application methods
When to use adhesive and nails:
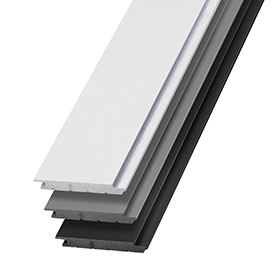
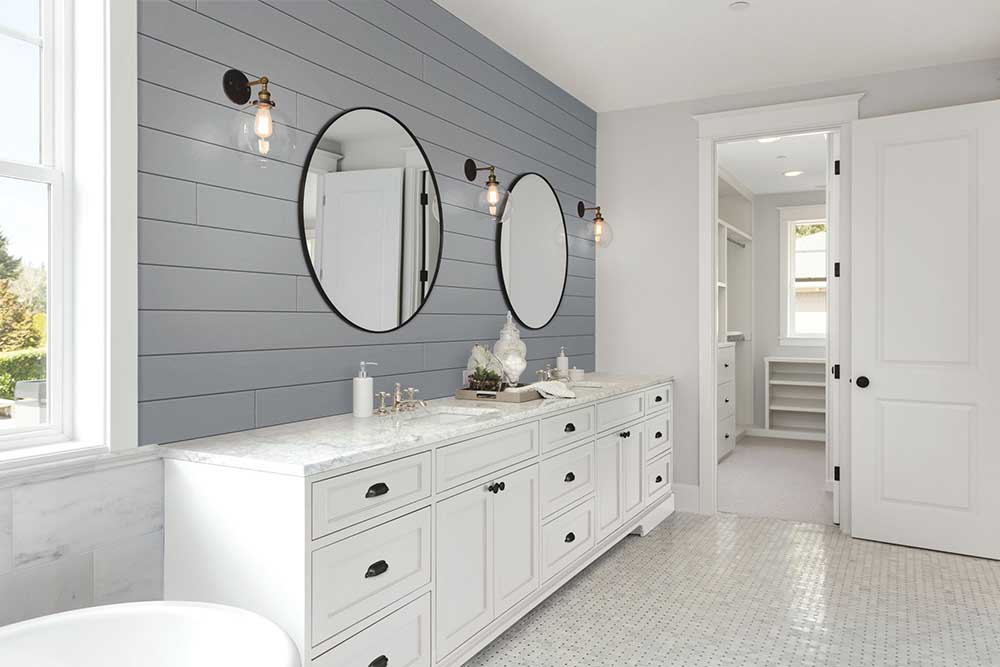
For shiplap with a smooth prepainted surface, like our Timeless nickel gap shiplap, you'll want to use adhesive and nails. Instead of nailing through the face of the board, you'll only nail through the flange of each board to avoid any visible nail marks that will affect the overall look of your wall.The adhesive will help hold the board to the wall in addition to the flange nails.
When to use nails only:
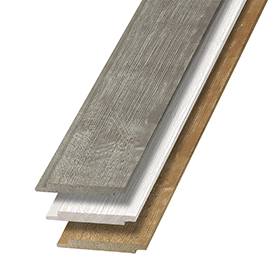
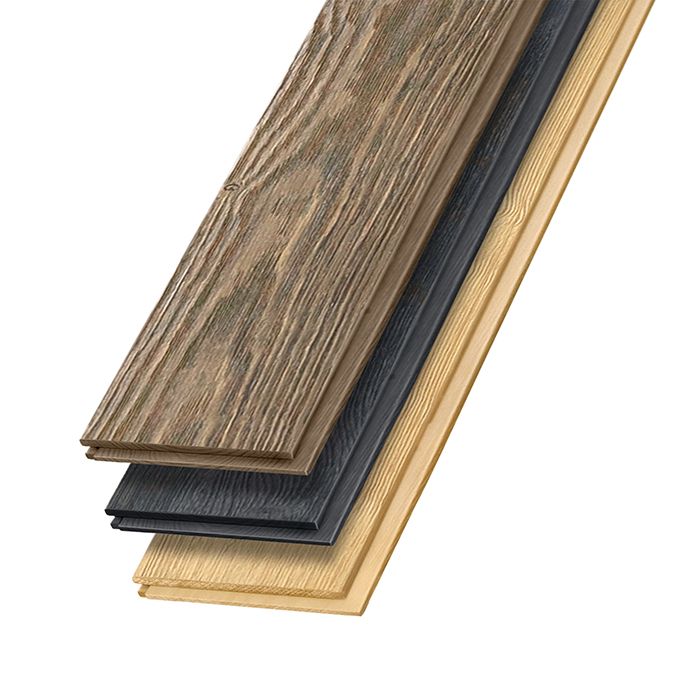
For shiplap that has a combed, resawn, or primed surface like our Rustic Collection and Timeless primed, you can just use nails. The textured surface of our Rustic shiplap will disguise the nails so you can attach through the flange and face of each board. For primed shiplap, since you'll be painting it, you can fill in nail holes with a wood filler. Once you sand down the nail holes you filled in, paint over for a seamless look.
How to affix shiplap using adhesive and nails
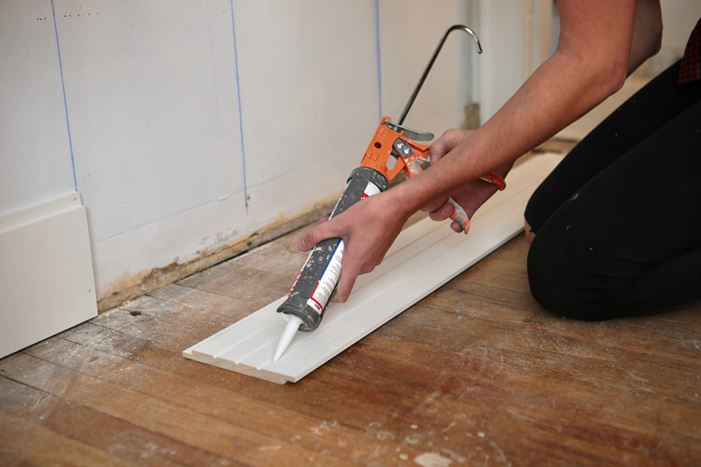
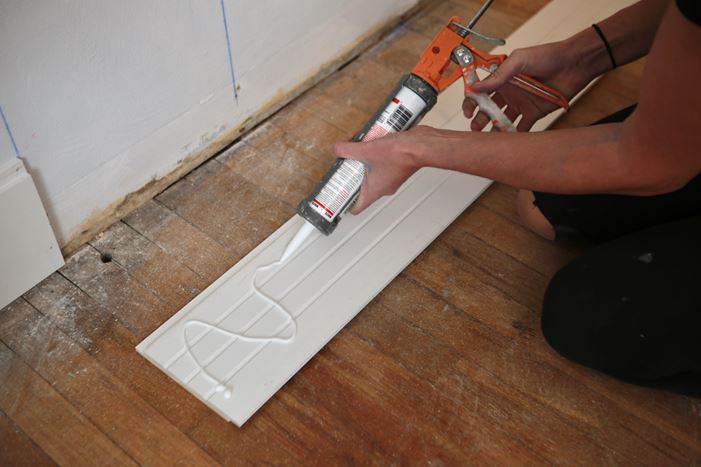
If you use adhesive and nails, begin by applying a zig zag of construction adhesive to the back of the board.
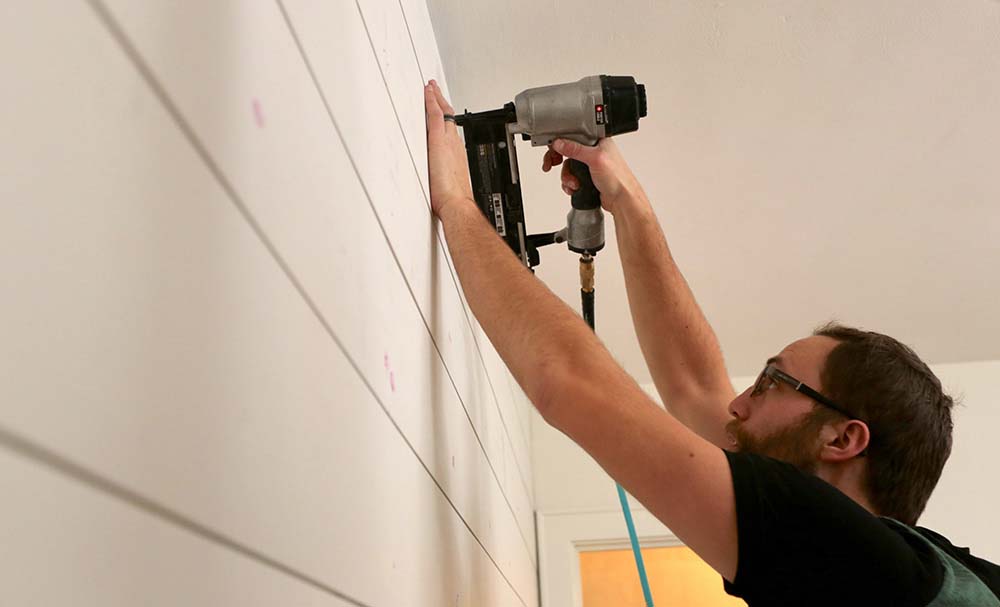
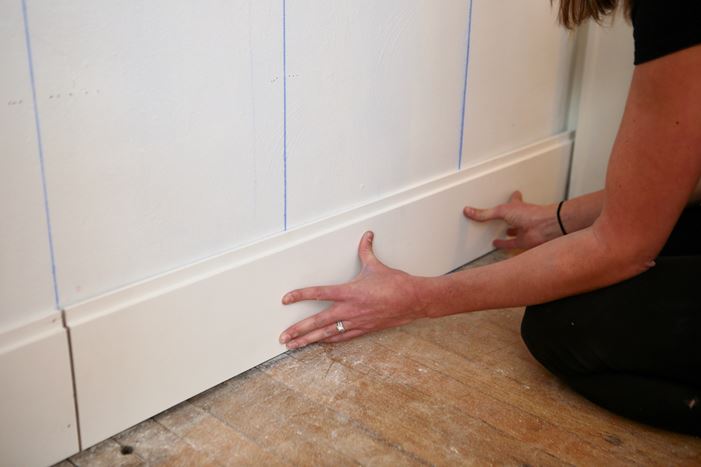
Place the board against the wall in the correct position.
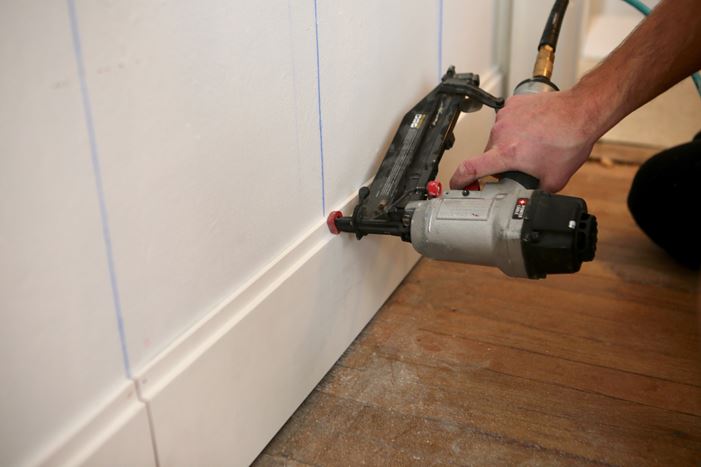
Nail it in place through the flange only. Repeat for each board. Installing the boards this way allows you to go straight to painting because no nail holes will be visible on the finished wall.
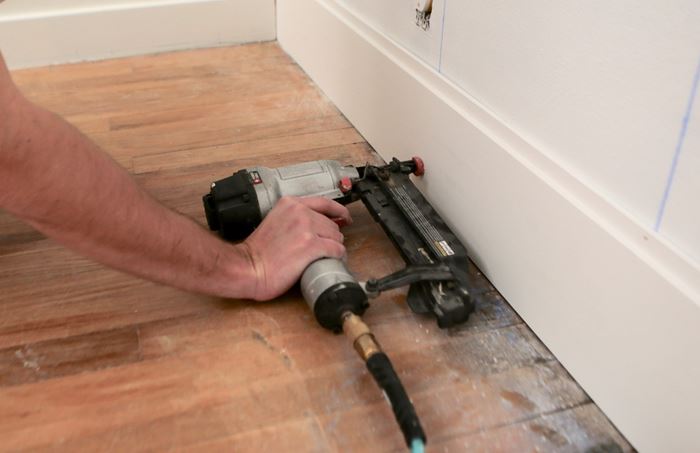
How to affix shiplap using nails
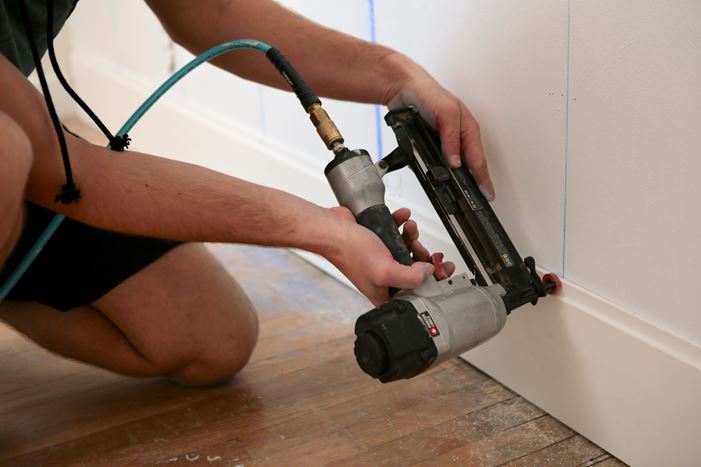
If you are affixing shiplap using nails, simply place the board in position, and drive nails through the flange, and the face of the board.
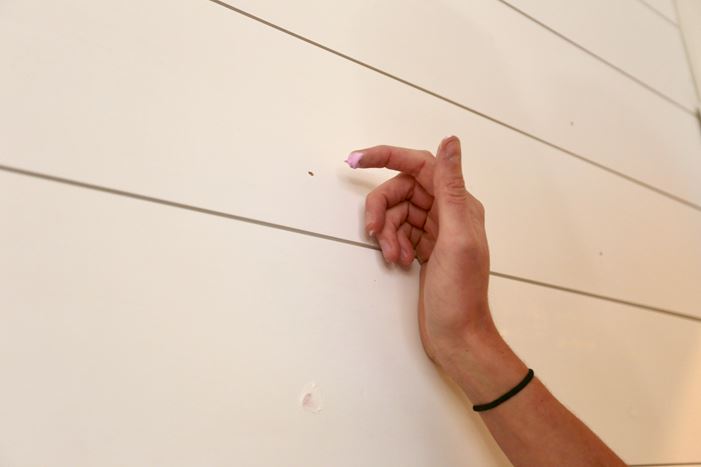
Afterwards, you’ll need to fill the nail holes on the face of each board with wood filler to create a seamless appearance.
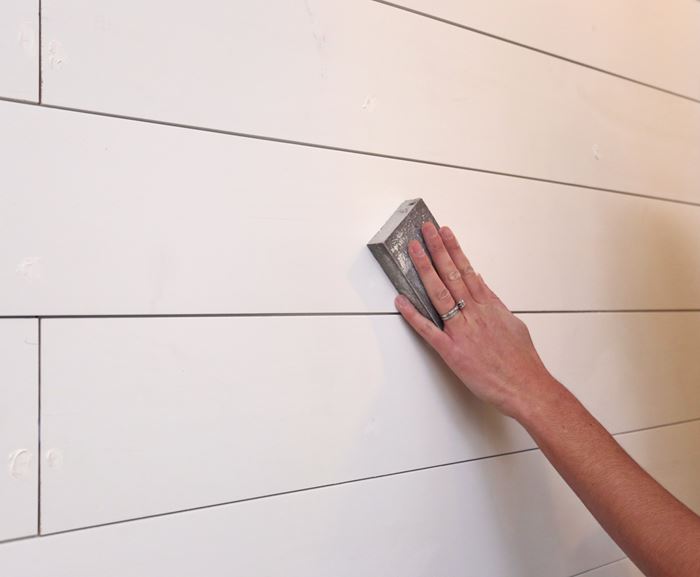
Once dry, sand down each hole you filled until they are smooth and ready for paint.
Other shiplap install techniques
Now that your familiar with the two ways to affix shiplap, what about installing shiplap around outlets and switches? Watch this video to walk you through these install tips.