DIY Shiplap Backdrop Wall
Posted 6/17/2020 by Amanda Hall
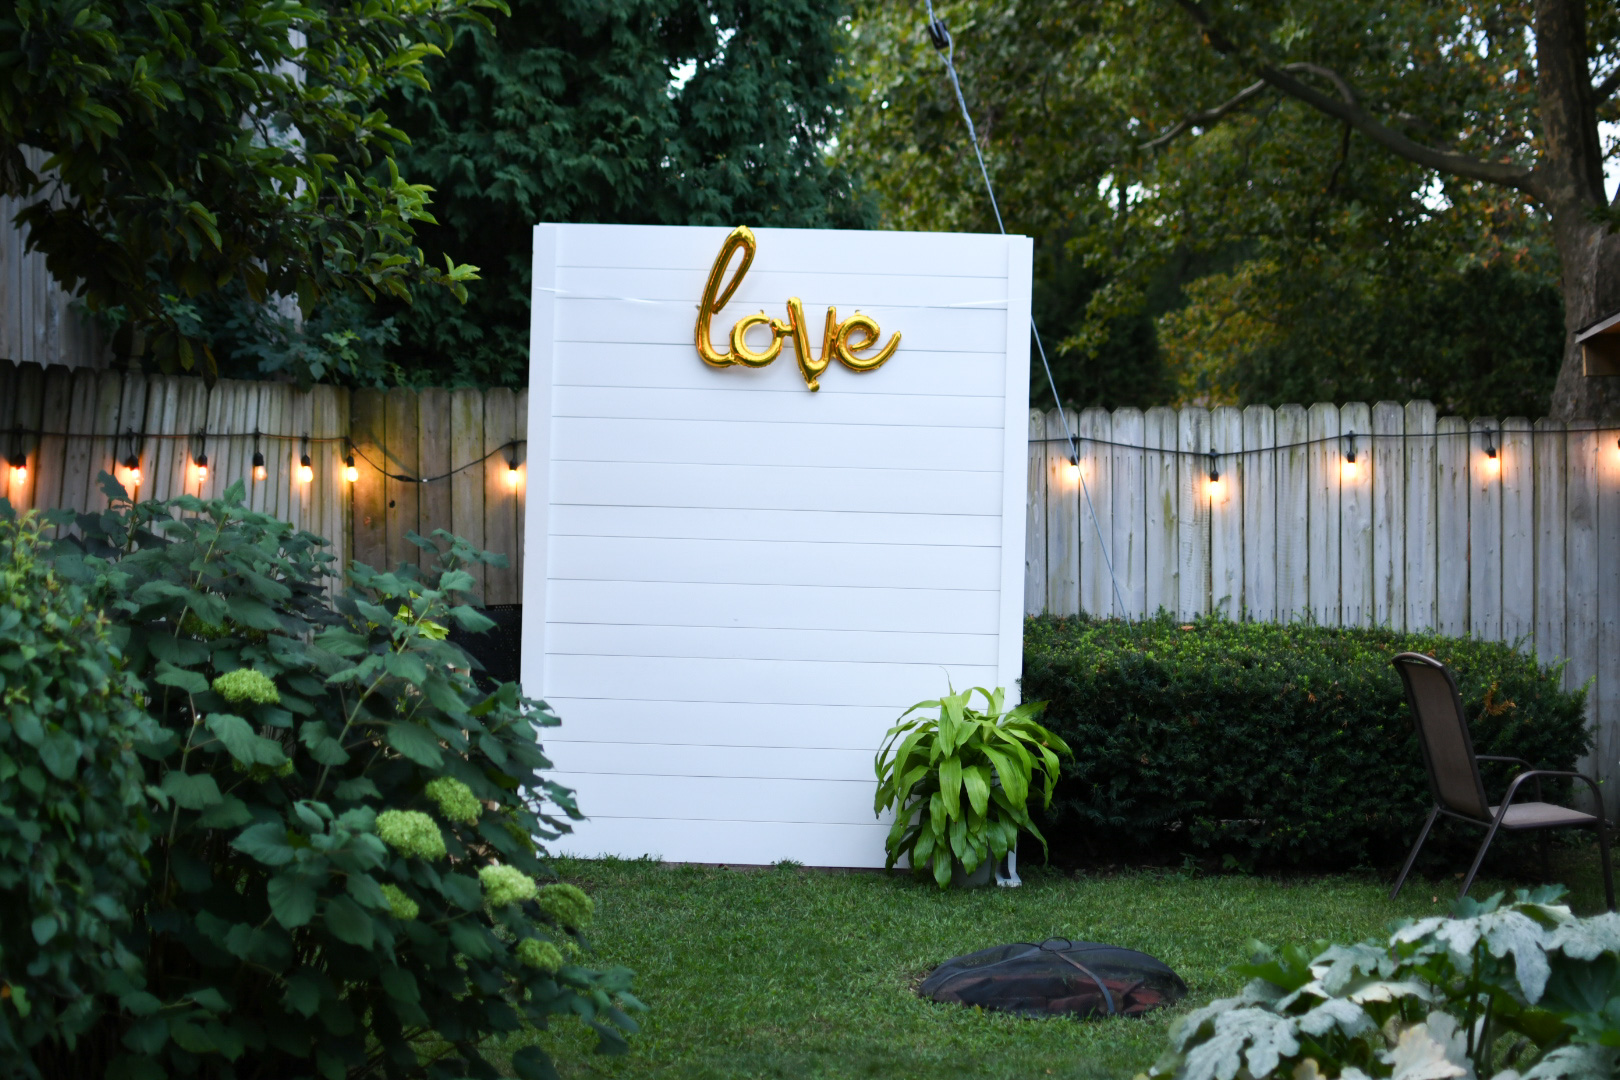
Looking ahead to planning your next event? Creating this free standing shiplap wall makes for a great backdrop, photo wall, and décor piece. If you are planning a wedding next summer, keep this do-it-yourself project in mind!
Supply list:
Materials:
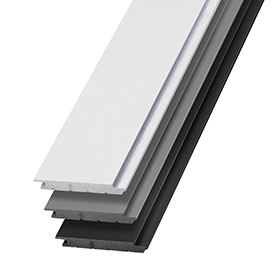
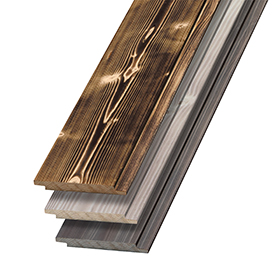
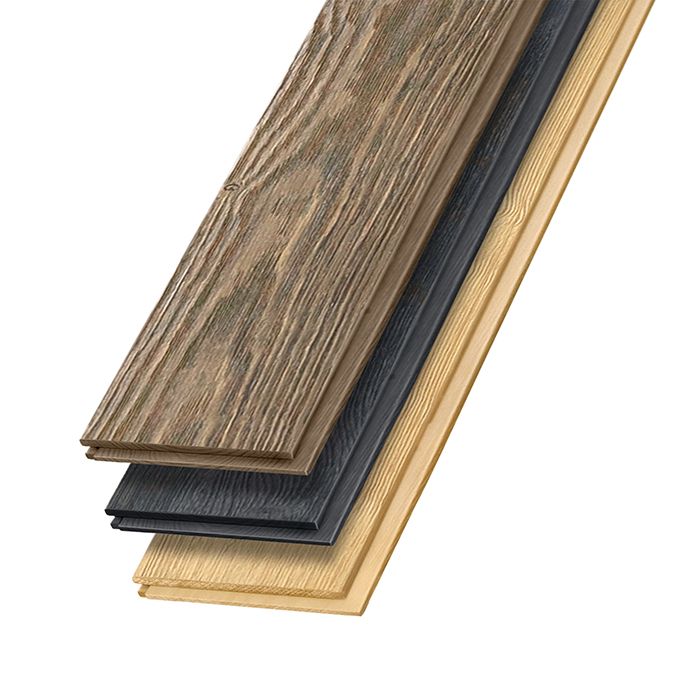
• Eighteen 1" x 6" x 8' Timeless nickel gap shiplap boards (primed or prepainted)
• Eight 1" x 4" x 8' trim boards (primed or prepainted)
• Four 8" corner braces
• Twenty-four #12 x 3/4" wood screws
• One box of #8 x 1-1/4" wood screws
• One box of #8 x 2" wood screws
• One box of #15 x 1-1/4" trim nails
• Wood glue
• Wood filler (optional)
• One pint of custom paint (optional)
Tools:
• Tape measure and pencil
• Carpenter’s square
• Table saw
• Hammer or pneumatic nailer
• Drill, drill bits and screwdriver bit
• Fine grit sandpaper
• Nail set (optional)
• 1" putty knife (optional)
• 1" angled trim paint or stain brush (optional)
Cut All Components to Size Prior to Assembly
Caution: Always wear gloves, a dust mask and eye protection when sawing, sanding or machining wood.
Using a table saw with a trim blade on a clean, flat, level surface, cut the Timeless Nickel Gap Shiplap and Trim boards for the components of the display wall as follows.
Tip: Measure and cut the boards to fit your project. The measurements given are for a perfect build and you may find your project off a little bit. On all shiplap and trim board pieces, measure each to fit while using the following cut list as an approximate initial measurement.
From 1" x 4" x 8' trim boards:
Rip the length of [1] 1” x 4" x 8' trim board in half to [2] 3/4” x 1-3/4” x 8’ filler pieces
A) Cut the length of the [2] 3/4" x 1-3/4" x 8' filler pieces to 83"
B) Cut the length of [4] 1" x 4" x 8' trim boards to 83" leg pieces
C) Cut the length of [1] 1" x 4" x 8' trim board to [2] 1" x 4" x 36" foot pieces
D) Cut the length of [2] 1" x 4" x 8' trim boards to [2] 1" x 4" x 83" back slats.From one 1" x 6" x 8' nickel gap shiplap board:
E) Rip the length of [1] 1" x 6" x 8' shiplap board to [1] 1" x 4-3/8" x 8' top shiplap board
General Assembly Advice
• Establish a fastening pattern to enhance the overall look and feel of the final assembled product.
• Apply wood glue to all joining-material surfaces before attaching the pieces together with trim nails and/or screws.
• Predrill all screw holes to prevent wood splitting.
• Use a carpenter’s square to check the construction after each step to make sure the components are square.
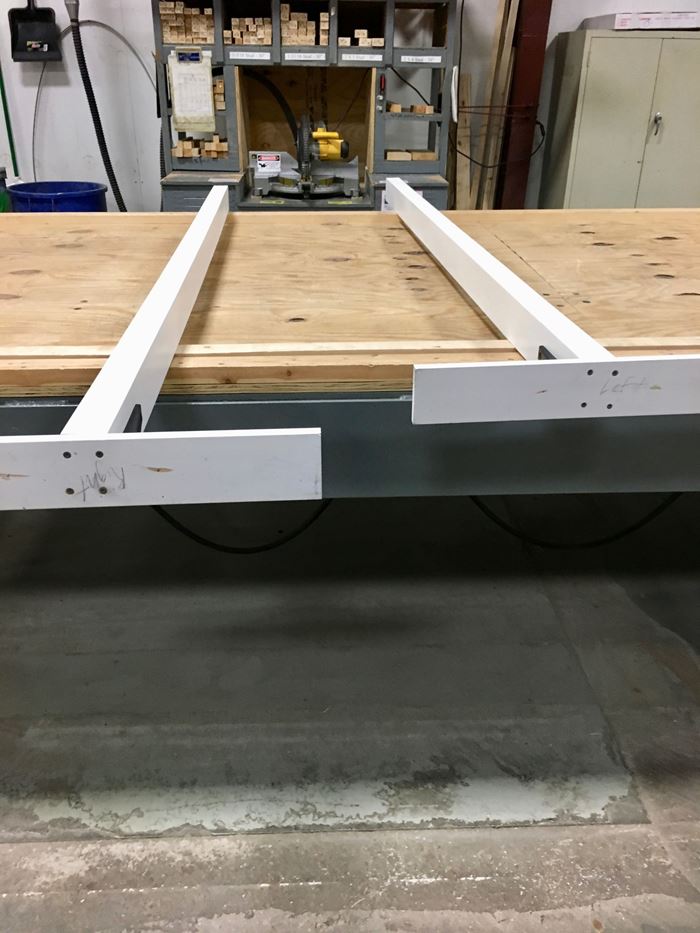
Assemble Legs
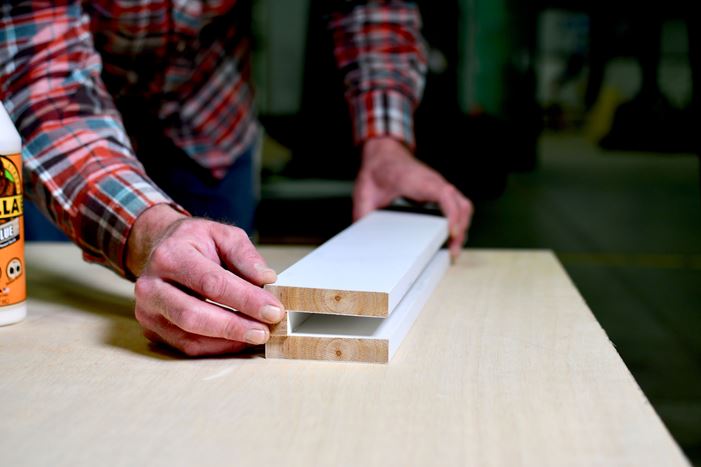
Apply wood glue to one side of a 3/4" x 1-3/4" x 83" filler piece and adhere it to the face of one 1" x 4" x 83" leg piece. Make sure the 2 pieces share common outsides edges and are flush.
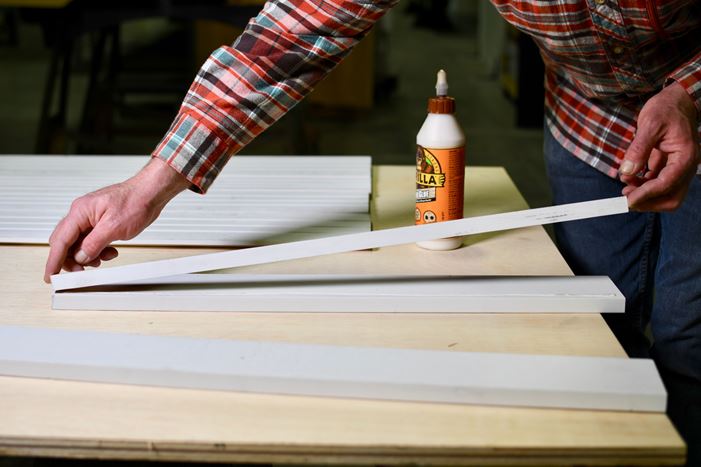
Assembly shown on a smaller scale.
Use #15 x 1-1/4" trim nails and attach the 3/4" x 1-3/4" x 83" filler piece to the 1" x 4" x 83" leg piece.
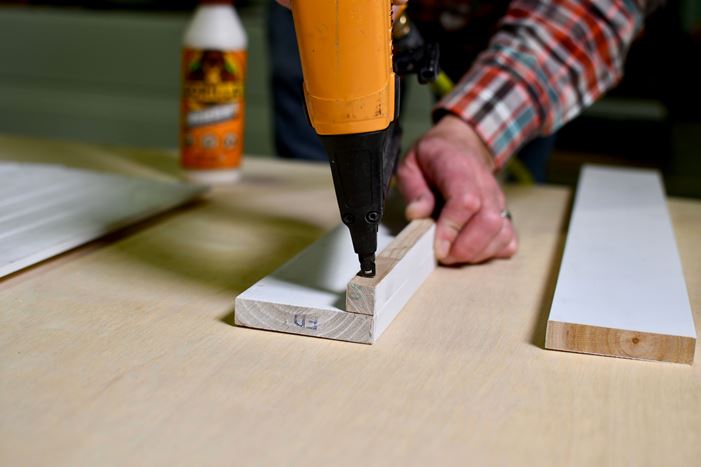
Assembly shown on a smaller scale.
Apply wood glue to the top of the 3/4" x 1-3/4" x 83" filler piece.
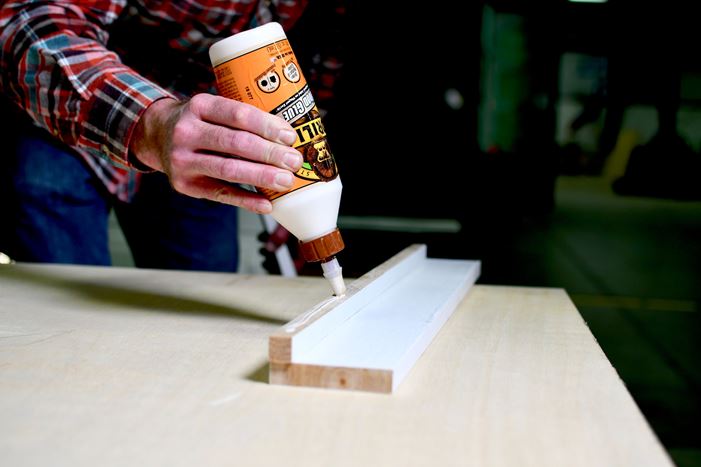
Assembly shown on a smaller scale.
Place another 1" x 4” x 83" leg piece on top of the 3/4" x 1-3/4" x 83" filler piece. Make sure the pieces share common outside edges and are flush.
Assembly shown on a smaller scale.
Use #15 x 1-1/4" trim nails and attach the 1" x 4" x 83" leg piece to the 3/4" x 1-3/4" x 83" filler piece.
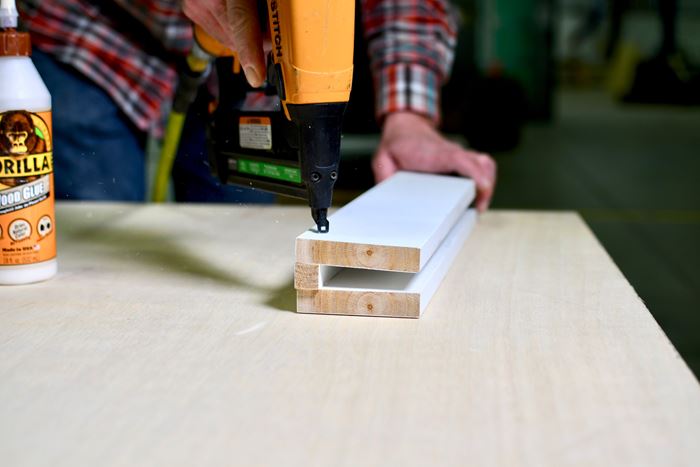
Assembly shown on a smaller scale.
Attach Feet
Mark the center of a 1" x 4" x 36" foot piece and align the piece with the bottom center of an assembled leg section.
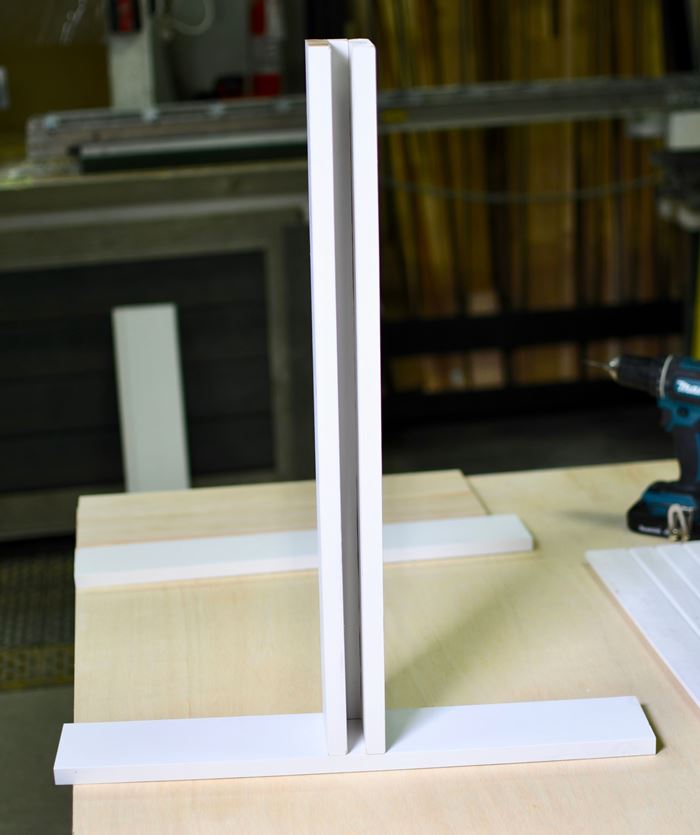
Assembly shown on a smaller sized scale.
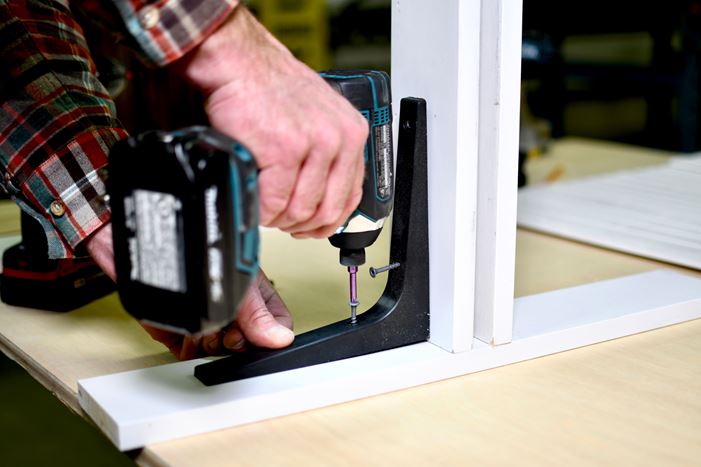
Repeat this process and attach another 8" corner brace to the opposite side of the leg assembly. Repeat the above process and attach the other 1" x 4" x 36" foot piece to the other leg section.
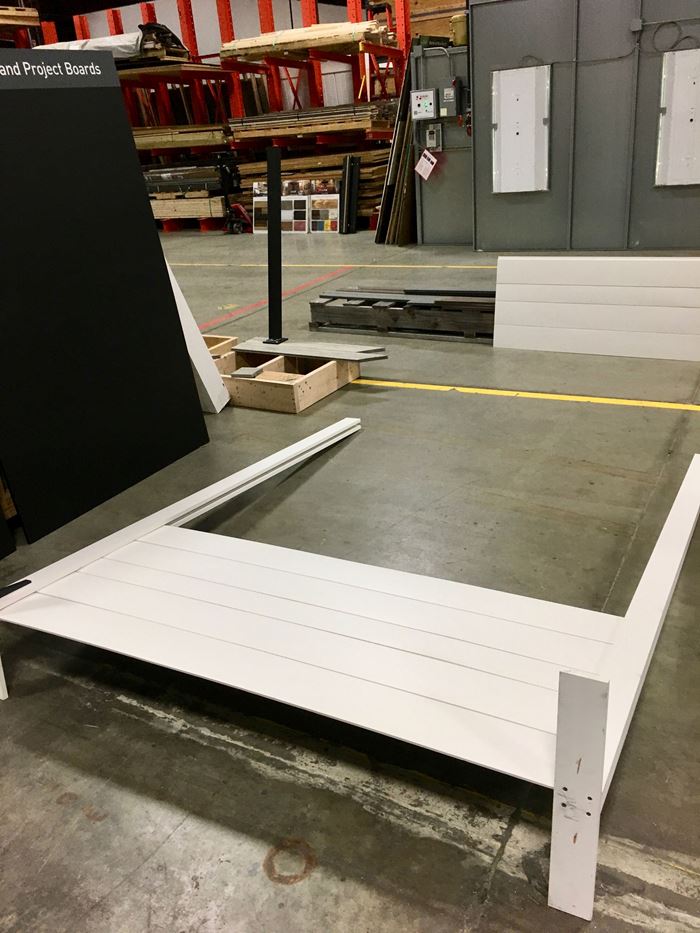
Assemble Shiplap Boards
Position the two assembled leg sections approximately 83" apart from each other and insert [18] 1" x 6" x 83" shiplap boards into the middle of each leg section. Make sure to overlap the shiplap board flanges so their nickel gaps are consistently spaced and their fitting is tight.

The last shiplap board will extend above the top of both leg assemblies. Using a pencil, mark the excess shiplap board along both leg assemblies.
Remove the shiplap board and cut the length of the board along the pencil mark with a table saw so it will be flush with the top of the leg assemblies. Reinsert the the cut shiplap board into the top of both leg assembles.
On the back of the shiplap dispaly wall, screw the leg assemblies and the shiplap boards together using one #8 x 2" wood screw for each shiplap board end. Do not screw through the two bottom shiplap boards. Do not screw through the shiplap’s overlapping flanges and make sure the screw heads do not protrude through the front face of both leg assemblies.
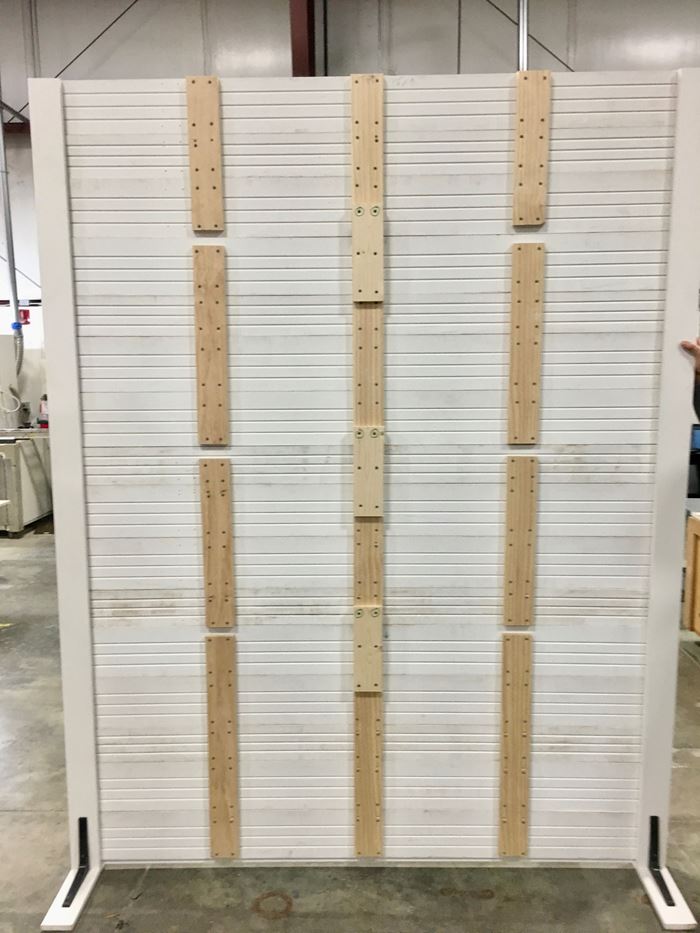
Attach Back Slats
On the back of the display wall, measure and mark 32" in from both left and right side leg edges with a pencil. Center align two 1" x 4" x 83" back slats along both pencil marks and attach the two pieces to the back of the shiplap display wall using #8 x 1-1/4" wood screws. Do not screw through the shiplap’s overlapping flanges.
To make your wall transportable, you may also choose to attach back slats in sections of shiplap as shown below.
Finish the Shiplap Sign
Depending upon the overall desired look and feel of the final display wall, it may be left unfinished, touched up or painted. If you used prepainted shiplap and trim boards for this project, take a sample of the prepainted material to your local paint store for a paint color match.
Use a nail set to recess any protruding nail heads. Fill set nailhead areas with wood filler and allow to dry. Use fine-grit sandpaper and lightly sand the wood filler and the
exposed cut edges of trim and project boards. Paint the wood filler and any exposed areas with a 1" angle trim paint brush and a color-matched paint.
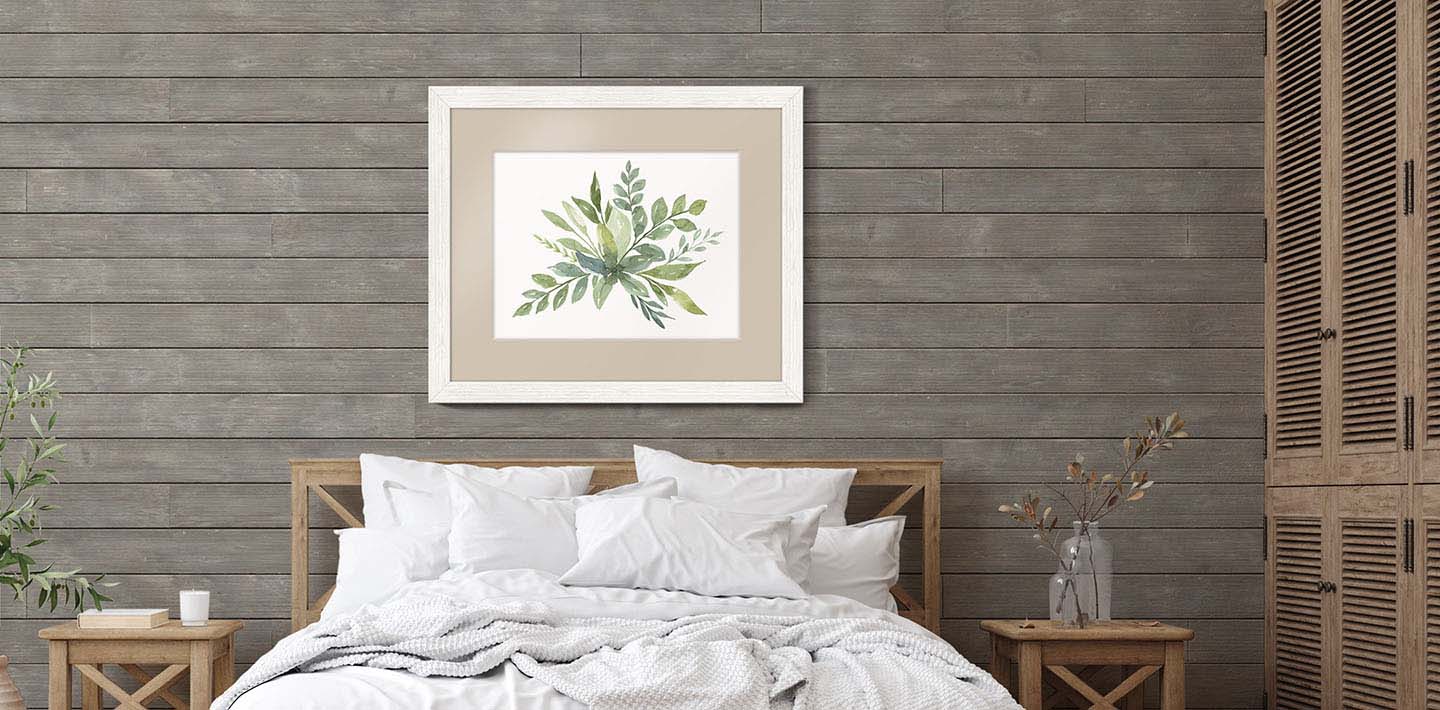
Decorate the display wall to complement your needs, use at your next event as a photo or decor backdrop, display your arts and crafts, or use it as a room/space divider.
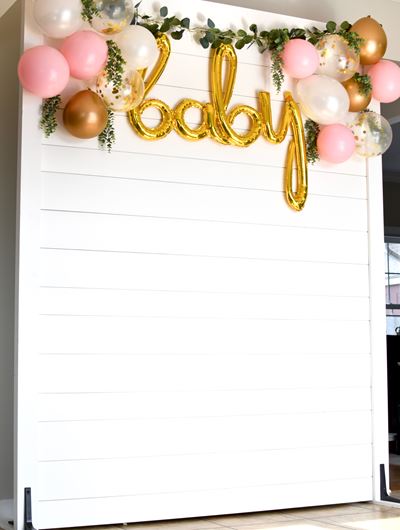

This shiplap wall makes for the perfect photo backdrop for events, weddings and more!
Download these free shiplap sign project plans and discover more shiplap projects you might enjoy.