How to Install Shiplap on Your Ceiling
Posted 8/12/2020 by Amanda Hall
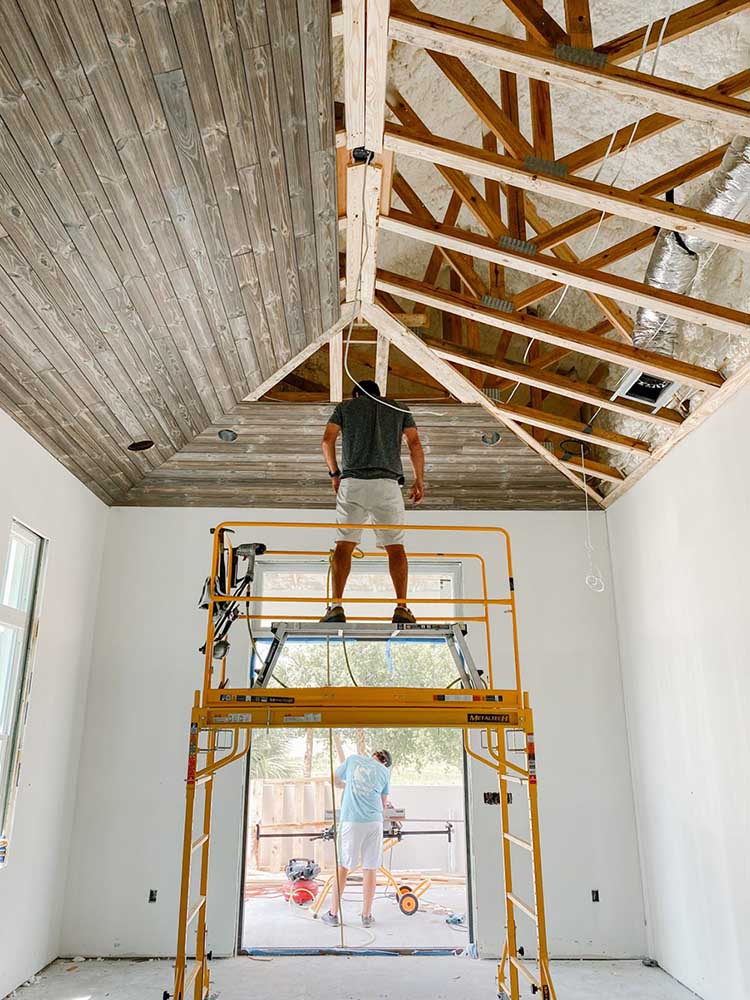
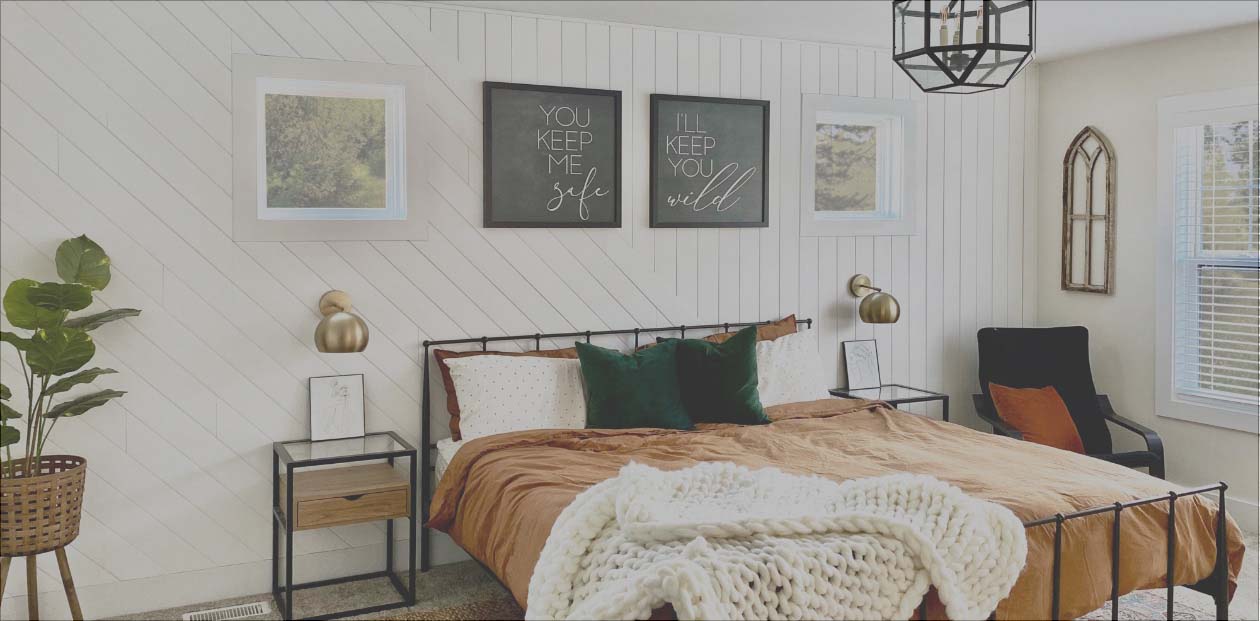
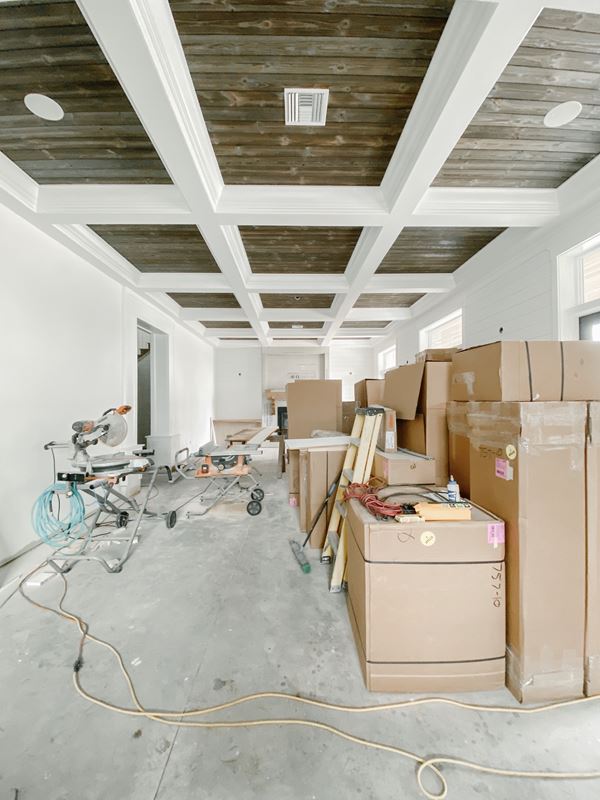
Charred Wood Ash Gray shiplap was installed on the vaulted ceilings in the primary bedroom.
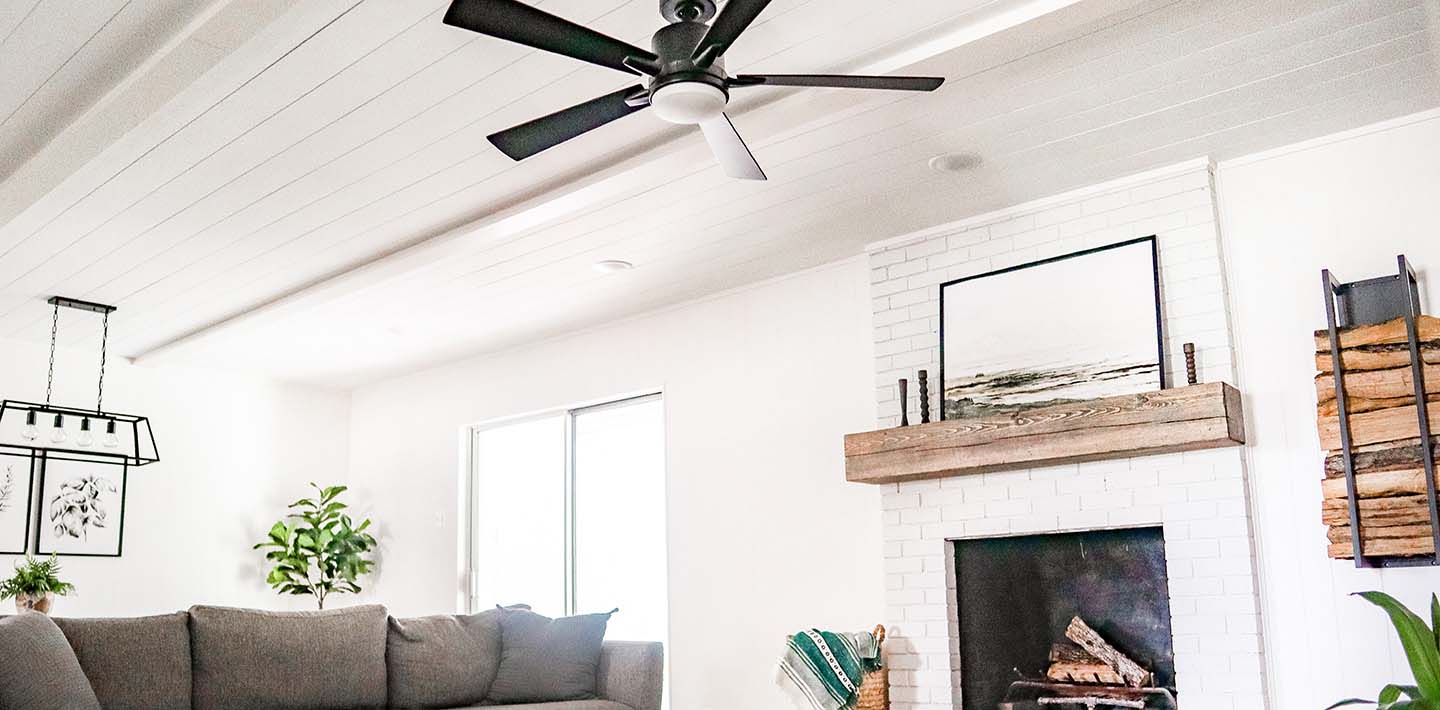
Editor's note: Charred Wood shiplap was installed directly on the first floor ceiling, which has a conditioned (heated/cooled) floor above it, therefore it is not necessary to install an air barrier like taped drywall prior to installing planks to the ceiling. In applications where shiplap planks will be exposed to ambient outside air, installers should use an air barrier to make the area air tight before installing the decorative ceiling.
UFP-Edge Collaboration Project With Palm Grove Farmhouse
We collaborated with Stephanie Wilson from Palm Grove Farmhouse to showcase some of our shiplap products in her modern farmhouse in Vero Beach, Florida. Stephanie shares her experience with our shiplap products and how they installed it on their ceilings.
A Shiplap Ceiling Adds Class
Shiplap on a ceiling is not only beautiful but can elevate a space. When designing our farmhouse, I wanted to create a dramatic, eye-catching statement for some of our main living areas. The final result is breathtaking! Now I’m excited to share just how simple it can be to install shiplap on a ceiling!
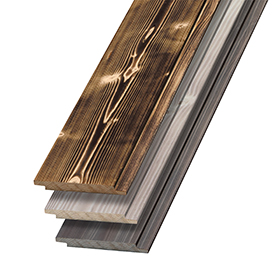
We went with Charred Wood Ash Gray shiplap for all our ceilings. The unique charred finish is one-of-a-kind. The color variations and organic grains capture the essence of aged wood. It’s looks so stunning in our home! And it wasn’t as hard to install as you may think! The square edge (butt-joint) allows the boards to overlap, creating the perfect gap between each one. We used the 1 in. x 6 in. x 8 ft. shiplap. It’s a great DIY for the beginner.
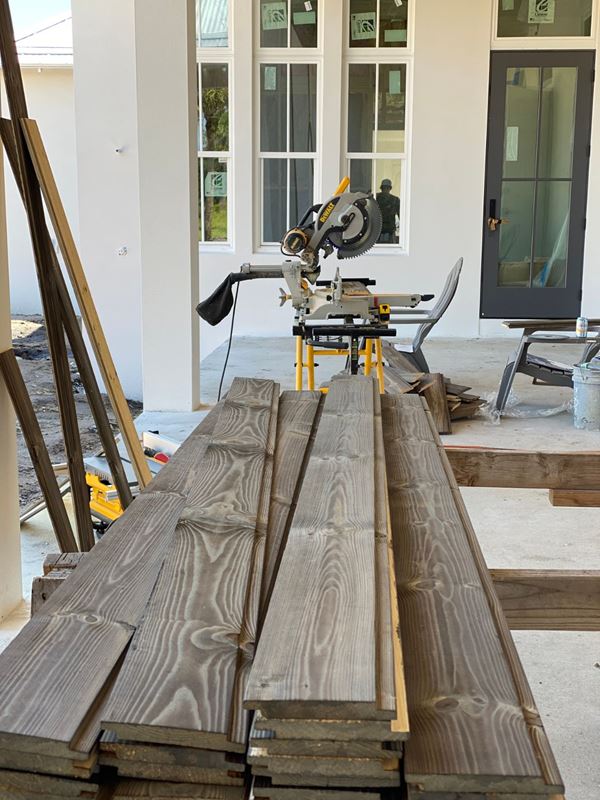
1 in. x 6 in. x 8 ft. Charred Wood Ash Gray shiplap ready to be installed.
Here’s what you’ll need:
- Charred Wood Ash Gray shiplap (1 in. x 6 in. x 8 ft.)
- Tape Measure
- Chalk Line
- Chop Saw
- Table Saw (Used To Cut Rip Boards)
- Nail Gun/Nails
- Loctite Construction Adhesive/Glue
- Level
- Jig Saw
- Circular Saw
- Speed Square (Used To Check Angles and Mark Boards For Cuts)
- Scaffolding/Ladder
- Stain
- Drill With Hole Saw Attachment For Electrical Boxes And Can Lights
Step 1: Measure
Start out by laying out the ceiling. Measure accordingly, leaving a 1/8 space for board expansion. Your trim will eventually cover that space. Using a chop saw, cut each board to the desired lengths. You may need to rip the first board down so you won’t have a sliver as the last piece. In woodworking, a rip-cut is a type of cut that severs or divides a piece of wood parallel to the grain.
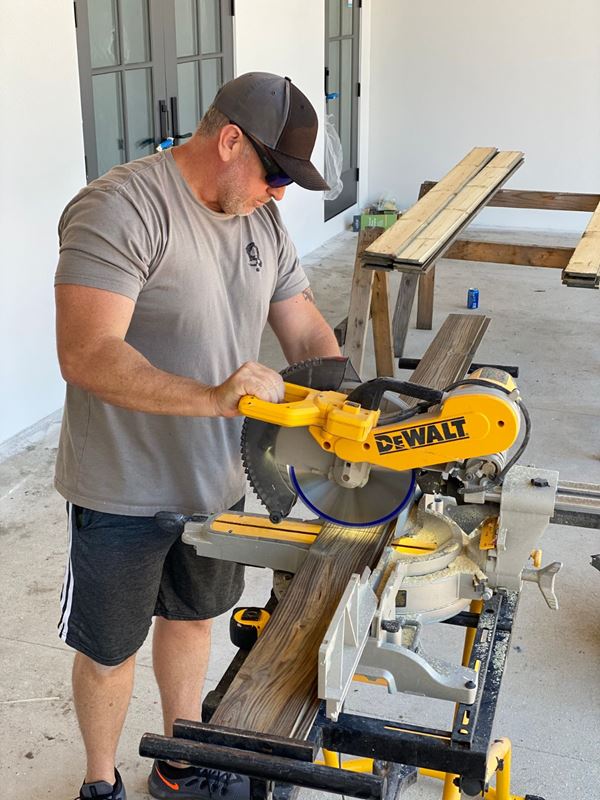
Jason using a chop saw to cut the shiplap.
Step 2: Framing
Make sure the framing is proper with nailers.
Step 3: Glue/Nails
Use an adhesive such as Loctite (liquid nails) to keep the boards from twisting or popping. Then finish with brad or 2 in. finishing nails.
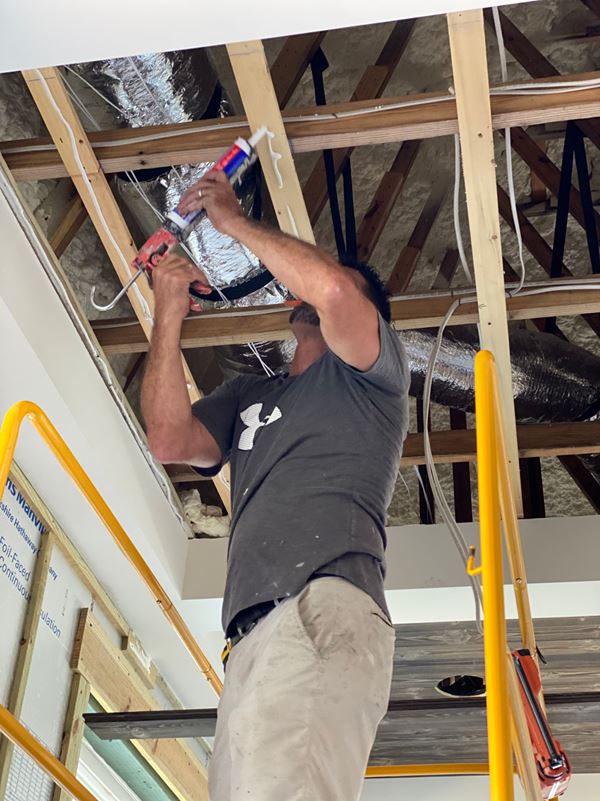
Use liquid nails to ensure a secure bond.
Step 4:
Once you come across a can light or other ceiling fixture, hold the board to the area and mark accordingly. Using a hole or jig saw and carefully cut.
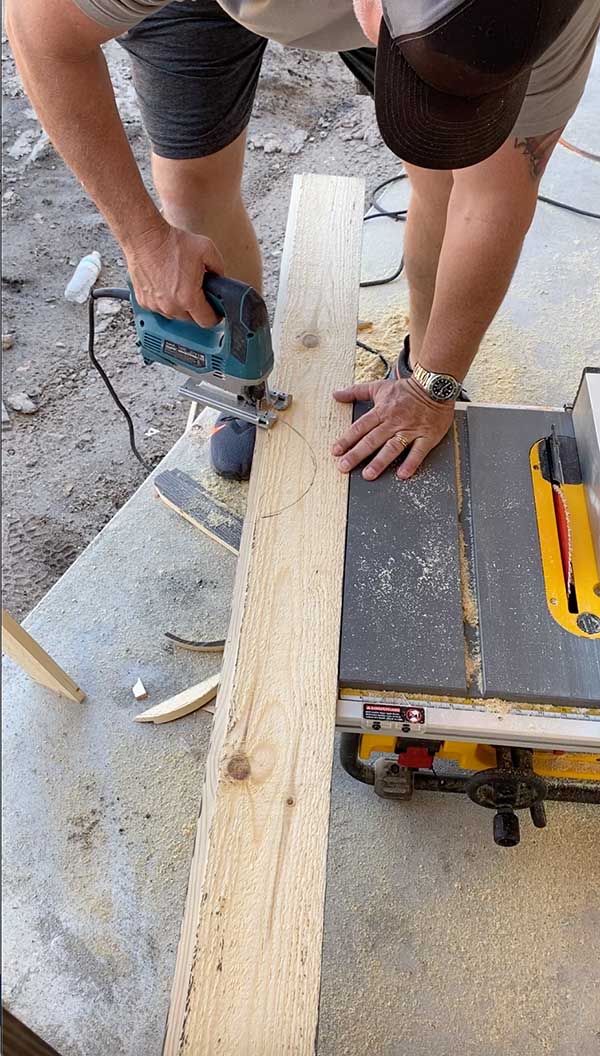
Jason using a jig saw to cut a hole for a can light.
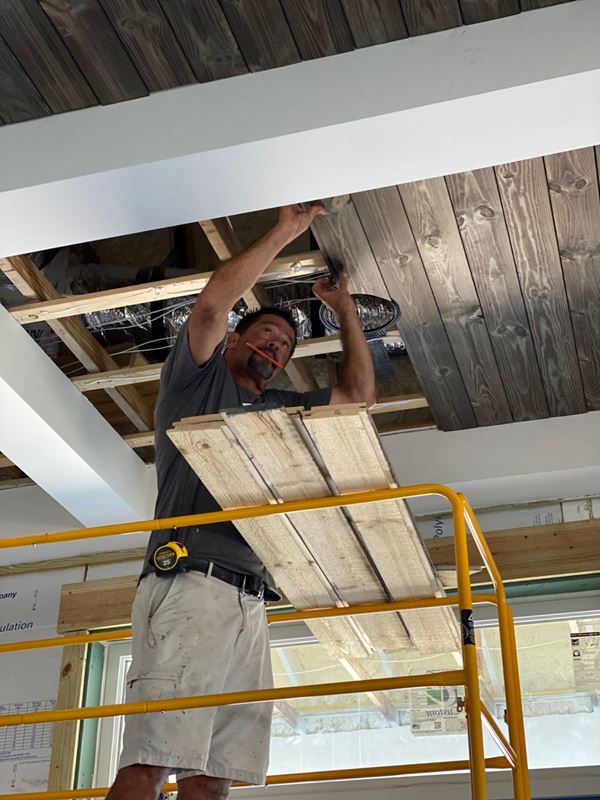
Placing the cut board around the speaker hole.
Step 5: Stain
Apply stain to the raw edges at the joints so you don’t see the contrast through the seam. For the Charred Wood Ash Gray shiplap, we used Varathane Charred Wood Accelerator.
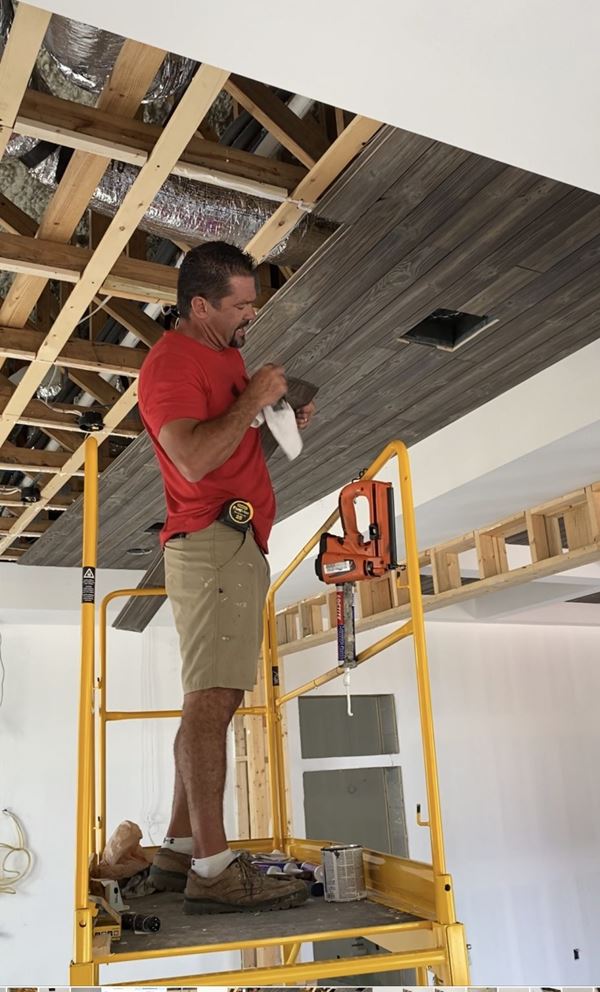
Staining the raw ends.
Step 6: Final Board
The last rip board needs to be cut for a good fit. Double check you are staying straight and measure from the row of shiplap to the wall. Since we used Charred Wood Ash Gray shiplap, there was no need to caulk. If you are applying white shiplap, you will have to cover all your nails holes with caulk.
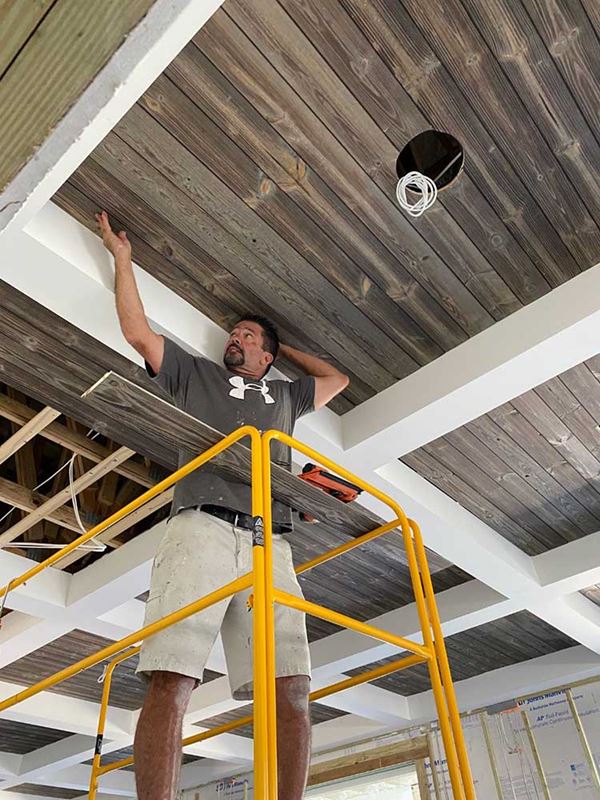
Doug installing the last rip board.
After:
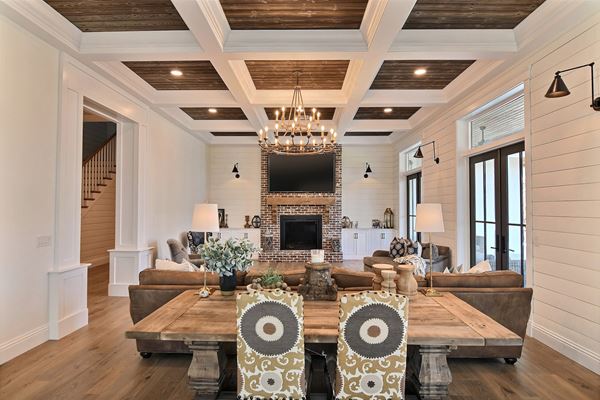
The ceiling took two days to complete.
The Charred Wood Ash Gray shiplap kicked the ceiling up quite a few notches, wouldn’t you say? Try out your DIY skills and make yourself a show stopping ceiling!
Check out our gallery for more inspiration.